Dave’s Wiring Vlog
Everyone tackles self-isolation differently. Dave’s way was to put up a makeshift isolation booth in the corner of Haltech garage and wire a car!
We figured it was a great opportunity to vlog the entire process. Of course, given the recommended social distancing rules he would have to do it all himself… It took a bit of convincing but Dave finally agreed. Welcome to Dave’s Wiring Vlog – in all its raw beauty!
Episode 1
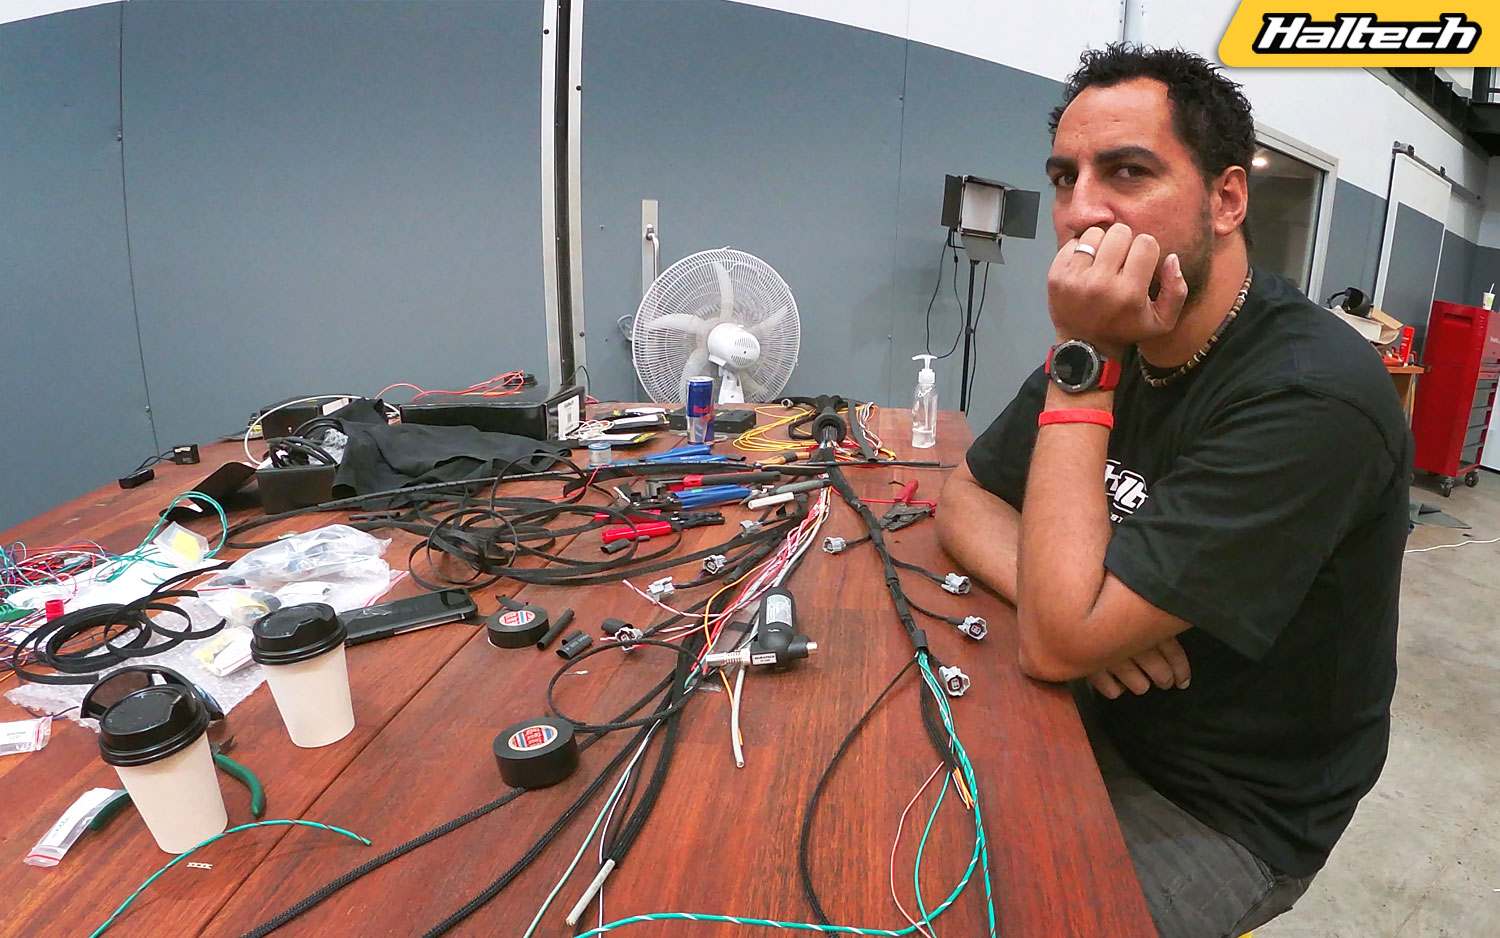
In the first episode Dave introduces the car/engine he’s going to be wiring, talks us through all the tools he’s going to be using and then starts the harness prep by separating all the different wire groups.
Episode 2
It’s time to figure out what each wire is supposed to do. Dave prints out an input/output report diagram from the ESP software and assigns each wire in the harness to its rightful place on the diagram. This step is super important as this is where we decide what function each wire in the harness will control. Dave then puts the wire in groups based on their functions and their location in the car.
Episode 3
Haltech’s Premium Wiring Harness includes an integrated fuse/relay box. In this episode, Dave sorts out all the fuses and relays and adds a couple to deal with a boot-mounted thermofan.
Episode 4
It’s time to add a CAN loom into the harness and Dave shows us a quick and easy way of doing it. More hacks and shortcuts in this massive episode as Dave splices in some extra long wires for the rear mounted fuel pump, trans fan and power steering and shows us his braiding technique.
Episode 5
We’re up to our first “point of no return” and that is drilling a hole in the firewall! Dave does a trial fitting of the harness inside the engine bay and lays out all the engine wiring. There’s a lot of pushing, pulling, measuring, checking and cutting going on before the harness is taken out again to be completed for the final install.
Episode 6
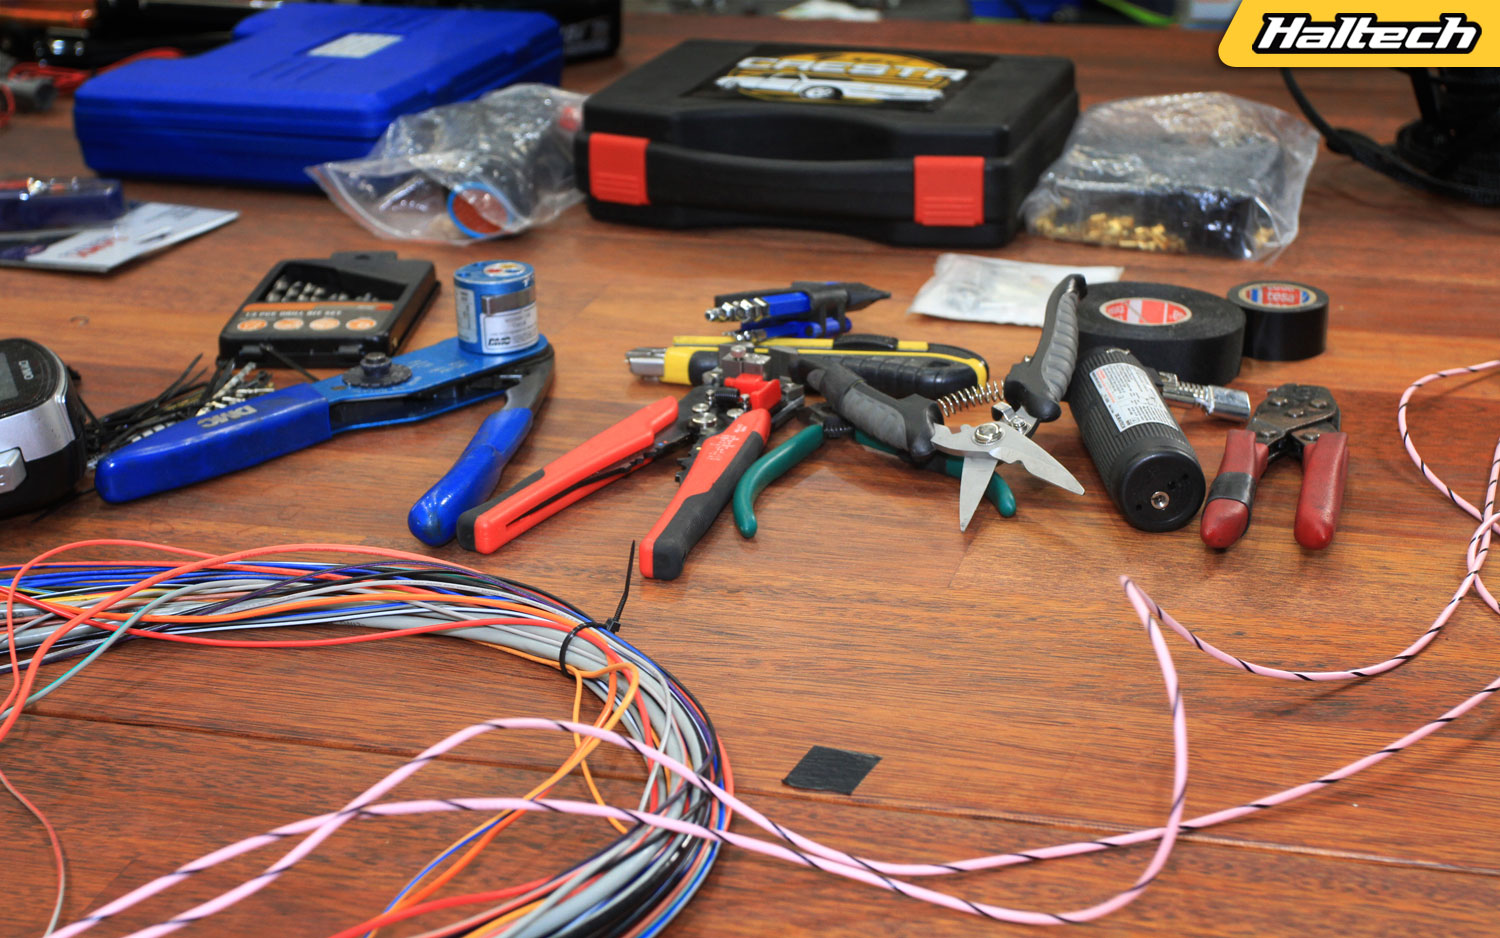
Measure twice – cut once! The wiring comes out of the car again for final grouping, cutting, braiding and terminating. Both injector looms (one for each bank) get completed and terminated with connectors. The harness is now ready for the final install.
Episode 7
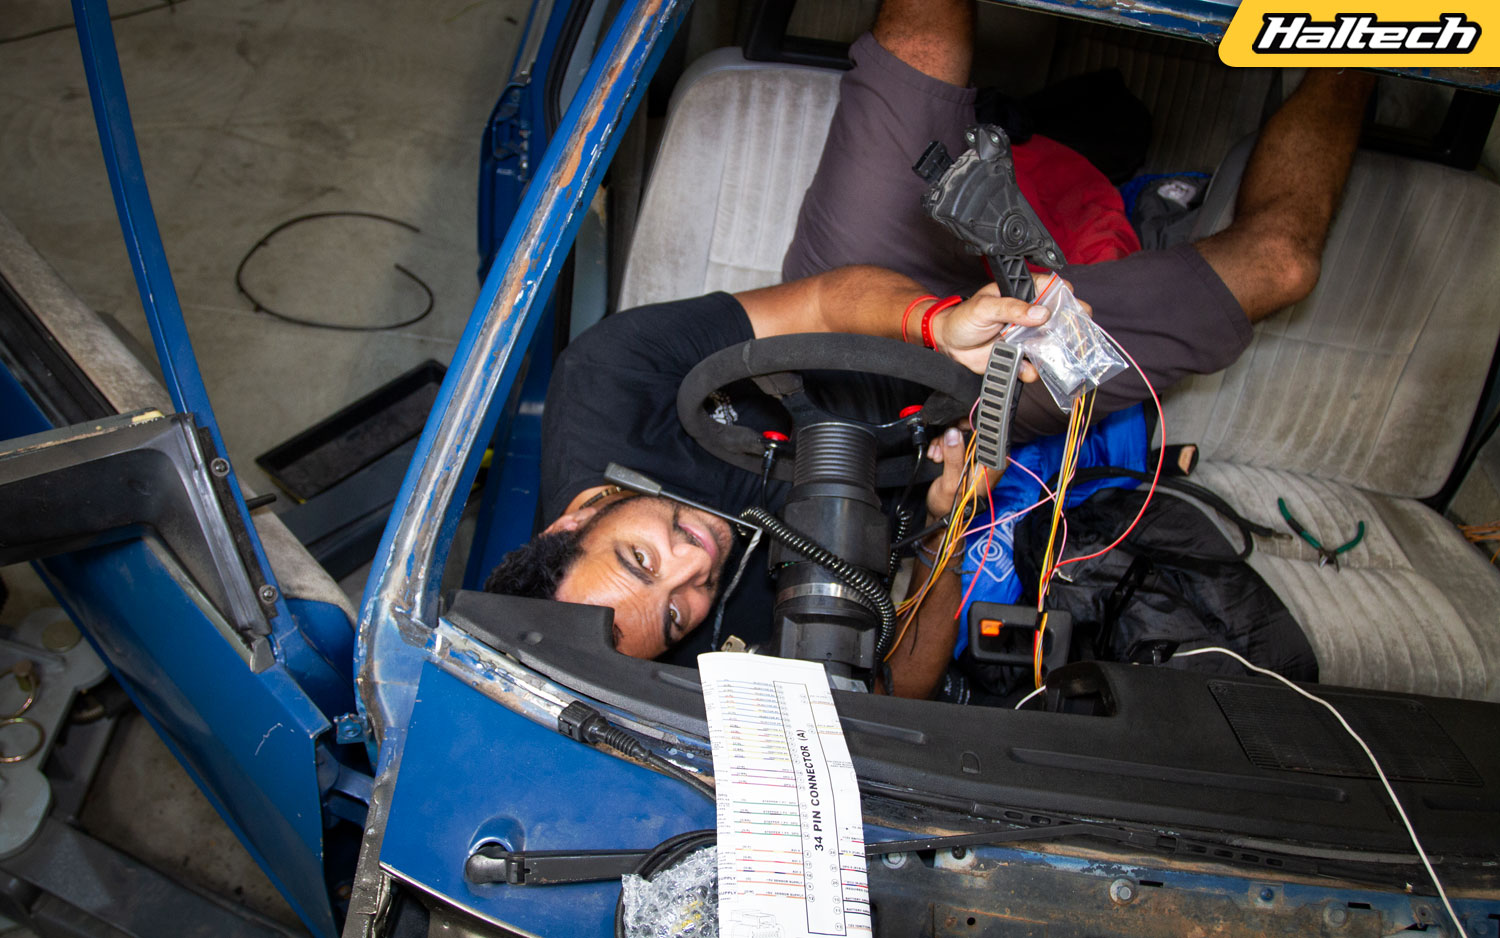
With the harness back in the car Dave starts with the car up on the hoist and then works his way into the engine bay where he wires all injectors and coils followed by a whole bunch of sensors; cam, crank, flex, knock, thermo fan, air temp, fuel pressure along with the dbw throttle body, alternator, battery. Dave also explains the subtle differences between the pull-to-seat and push-to-seat connectors and figures out the best place to mount the wideband controller box.
Episode 8
We’re on the home stretch! Dave’s inside the cabin now and wires up the DBW pedal then moves onto the ignition switch and the bump & creep buttons. While still in the cabin Dave also crimps the coil wires and completes the ignition loom. Back in the engine bay Dave repositions the factory headlights/blinkers loom so it’s nicely tucked out of the way.
Episode 9
It’s the final day! Dave tidies up all the loose ends under the car and shows how to use a Power Probe (it’s quite handy!). Moving into the car the iC-7 Dash find its rightful place in a custom-made cluster.
Dave then gets down and dirty on the ignition switch. Moving to the rear of the car Dave wires up the power steering pump and the fuel pumps as well as the transmission cooler fan. Back in the cabin – it’s crunch time, with the ECU connected will it all work when Dave turns the key? We’re about to find out….
The finished project
So, how did the car end up looking? A few months later we got the car back to do a quick follow up video and answer some of the questions posted during the wiring process.
Tools and Products Used
Elite 2500 + Premium Wiring Harness: https://www.haltech.com/product/ht-151304-elite-2500/
Dual Crimper Set: https://www.haltech.com/product/ht-070300-dual-crimper-set/
Plugs, pins and wires: https://www.haltech.com/product-category/plugs-pins-and-wiring-products/
Wideband Controller Kit: https://www.haltech.com/product-category/can-expansion-products/can-wideband-controllers/
EFI Hardware: https://www.efihardware.com/
Power Probe: https://www.powerprobe.com/
RS Components: https://au.rs-online.com/web/p/crimp-butt-splice-terminals/7187561/
Tesa Tape: https://www.tesa.com/en-au/industry/tesa-51608.html
Connector-Tech ALS: https://www.connector-techals.com.au/
3D Racing solutions: https://3dracingsolutions.com/collections/dash-clusters
Want to learn Automotive Wiring?
High Performance Academy Pro Wiring Courses: Https://www.hpacademy.com/courses/professional-motorsport-wiring-harness-construction/

