Category: Video
How to crimp sensor connectors
Pressure, Temperature, MAP, or Flex Fuel – sensors are an integral part of any engine management system and getting them properly connected is super important. In this step-by-step guide, the ever-patient Dave shows us how correctly crimp all Haltech push-to-seat sensor connectors.
Covered in this video are GM-style, push-to-seat connectors for Temp, Pressure, MAP, Bosch Pressure/Temp, Deutch, Ignition Coil, and EV1 style sensors.
Related videos:
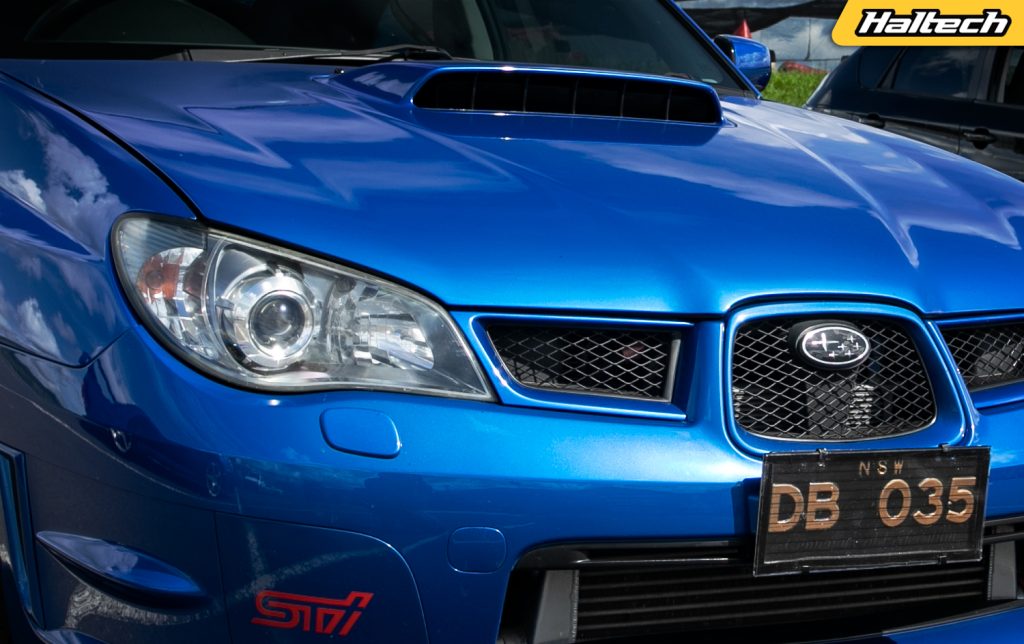
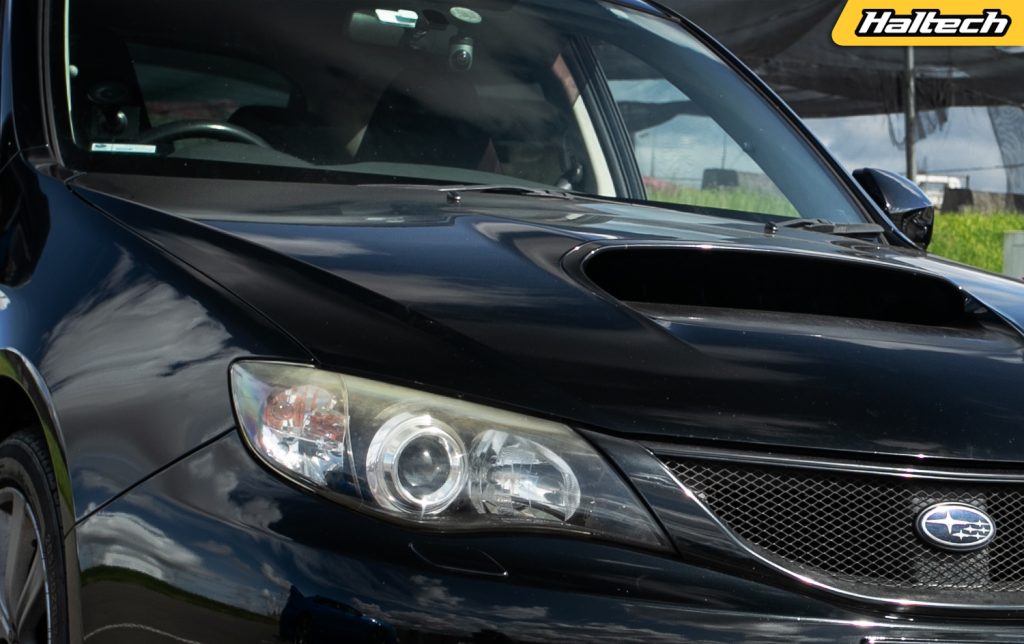
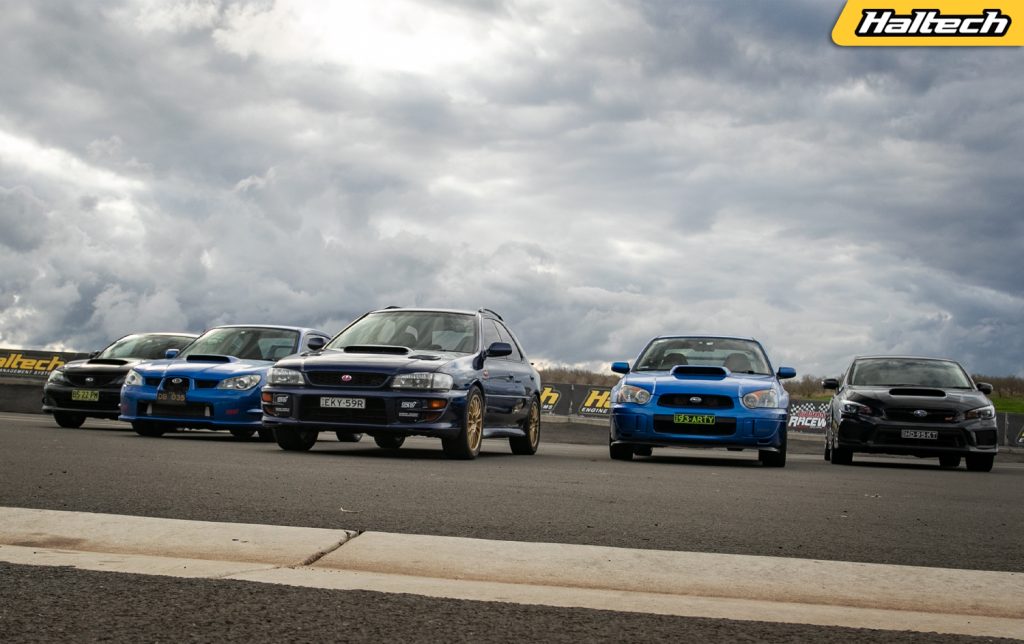
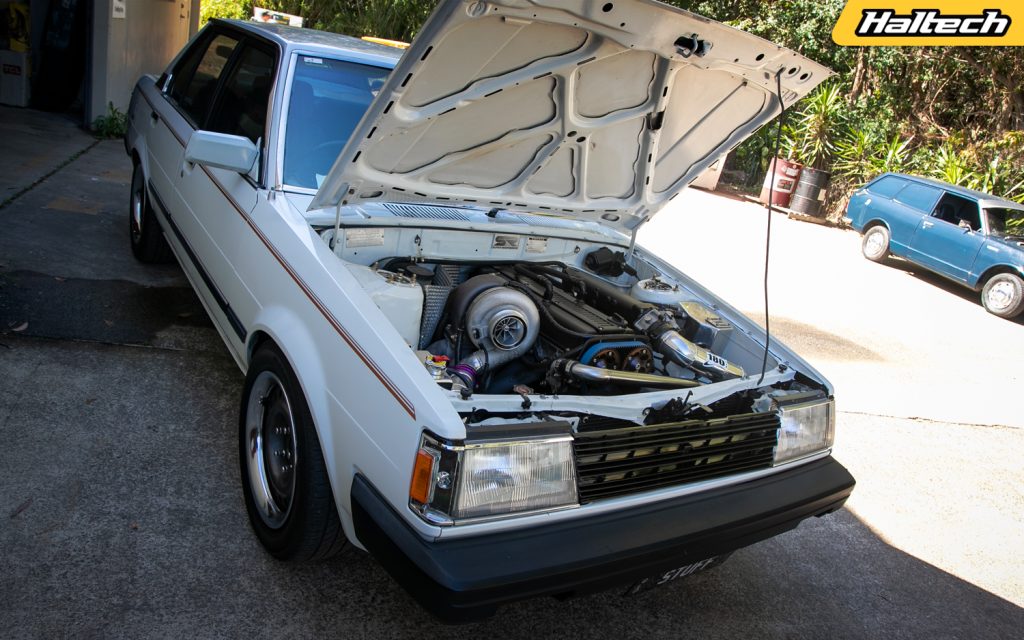
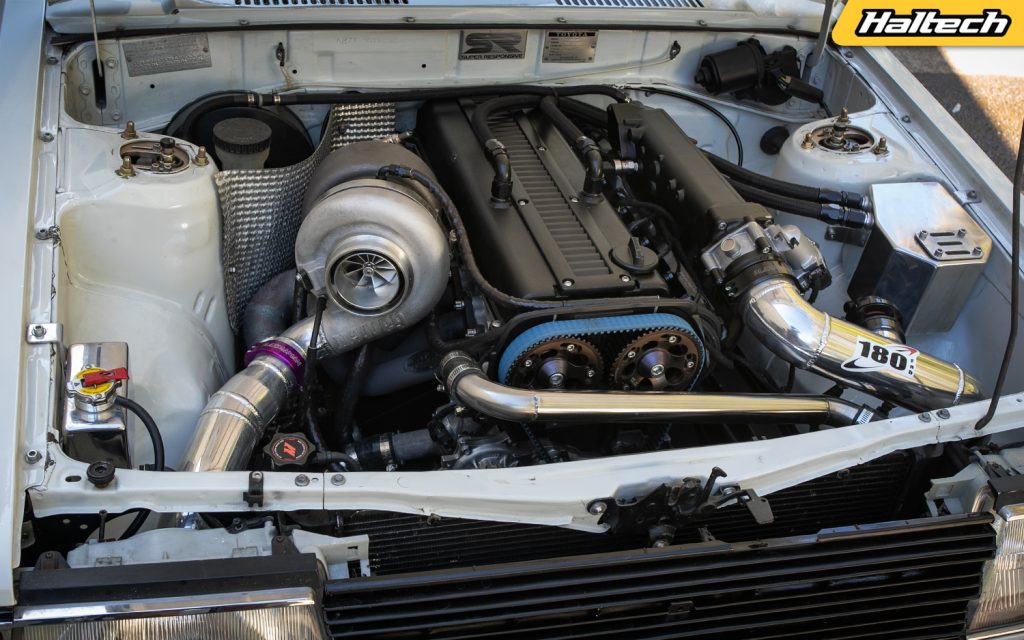
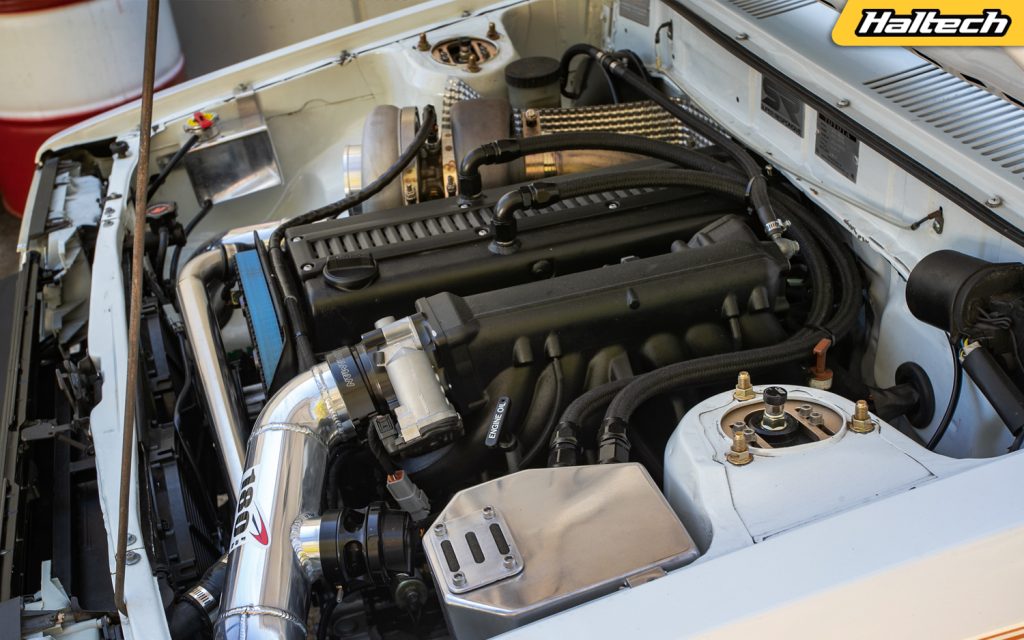
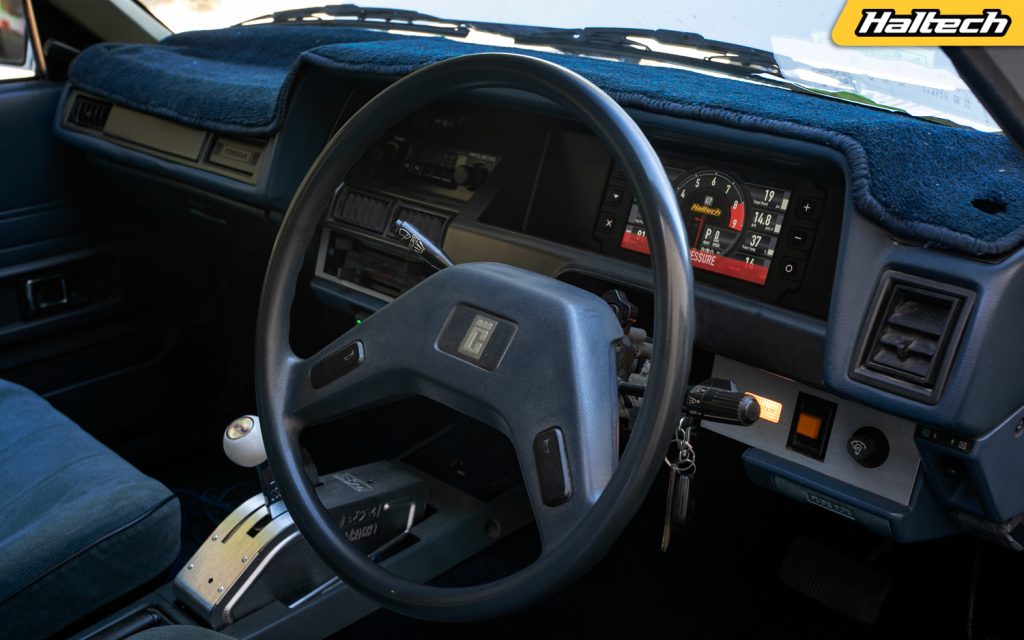
What’s so special about WRX
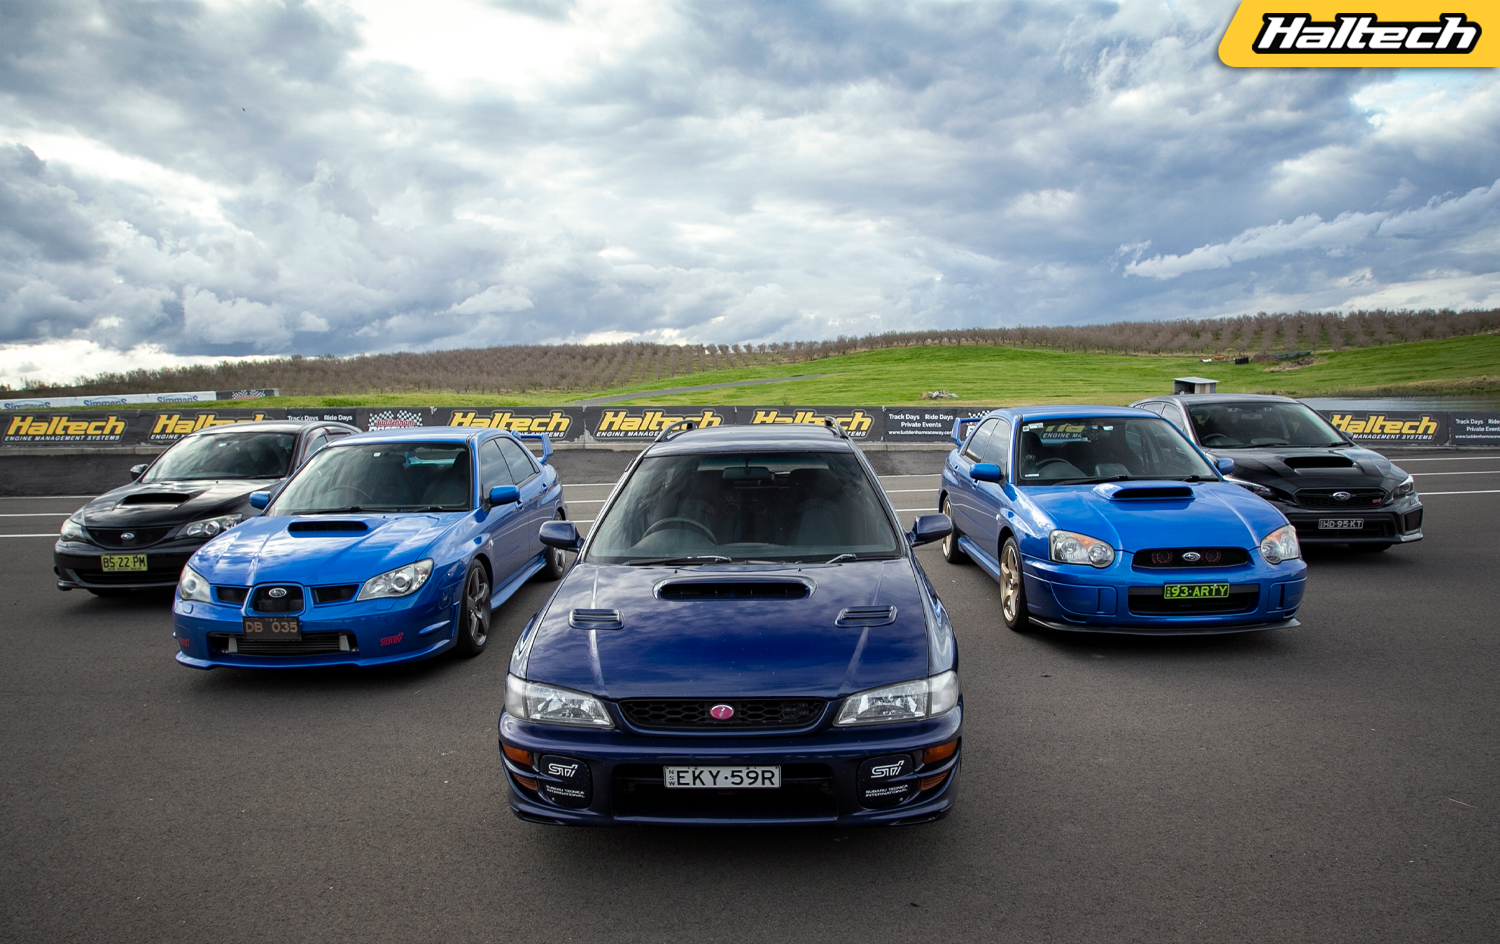
Having dissected Subaru’s EJ engine and reading through all the comments left on that video got us thinking; if the EJ boxer (despite its rally cred) is so disliked by so many performance enthusiasts – what makes the WRX/STi platform so popular? To find out we invited a whole bunch of Subaru owners and picked their brains on the subject.
While the EJ made its debut in 1989 in the Subaru Legacy, today we’re concentrating on the WRX/STi platform in its various guises. Well, except for the Levorg and the Rex but we’ll come to those later.
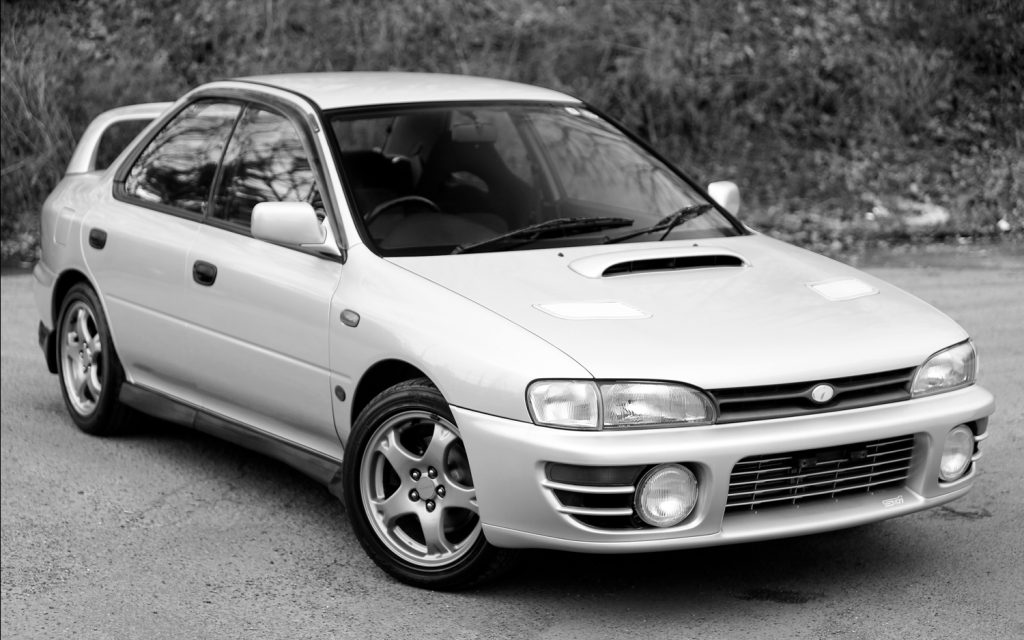
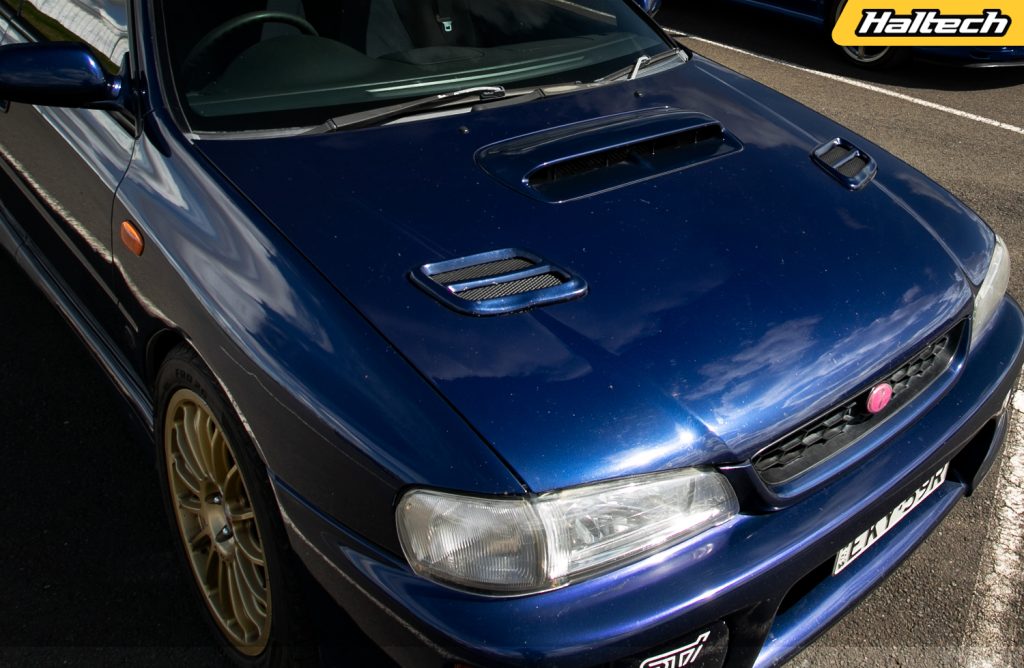
Gen 1: 1992 – 1999
The first generation of Subaru Impreza was introduced in 1992. In its performance (WRX and STi) variants it proved to be a light, agile and very capable car, thanks partly to its unique AWD system and partly to the new EJ20 flat four which, in its most powerful version (1997 STi) made 276hp. This model continued until the year 2000 with a facelift in 1998.
Unfortunately North America missed out on the first generation of WRXs which makes them the most desirable Subaru models in the US.
Aaron’s GF8 Wagon
Aaron’s is a 1999 wagon variant with a factory engine plus some bolt-on goodies like the STi VF28 turbo, STi intercooler, 3″ exhaust and an STi body kit.
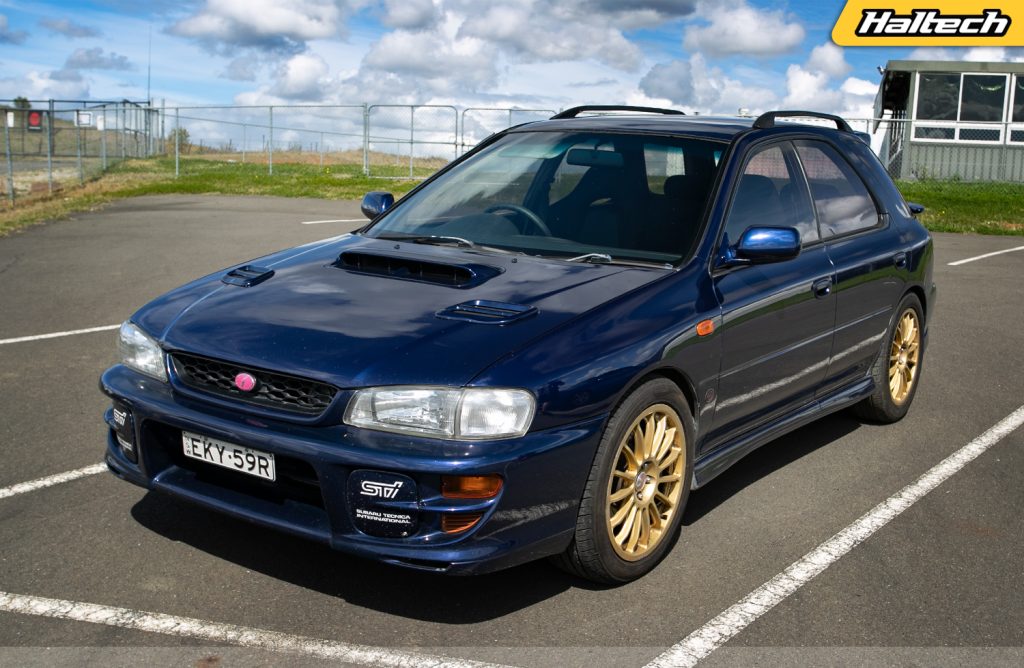
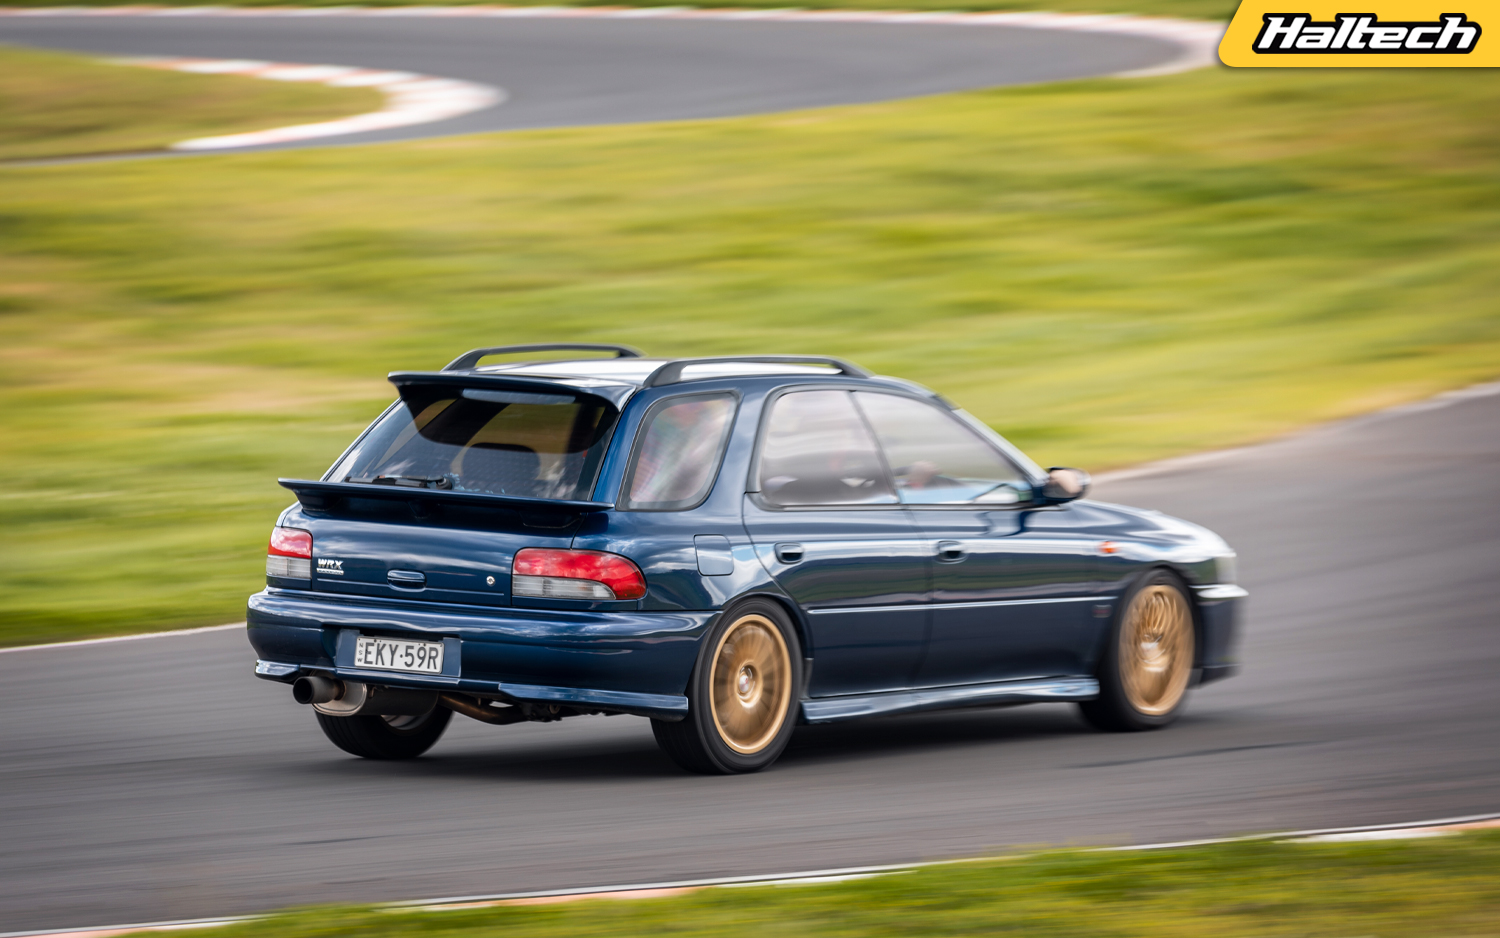

“It is a great cruiser and fits more stuff in the back than my old Triton Ute! It handles well and gets up and goes when you want it too. I also love its classic shape.”
“As much as cruising around is great, I wish it was manual for those spirited drives. I will do a manual conversion one day.”
Gen 2: 2000 – 2004
Introduced 2000 with its famous, or rather infamous “BugEye”, the second generation Impreza included two facelifts – one in 2002 (the BlobEye) and the other in 2006 (the HawkEye). The 2002 was the first version to be sold in the US market. In 2005 both the WRX and the STi moved to an EJ25 turbo. The most powerful of these made 295hp.

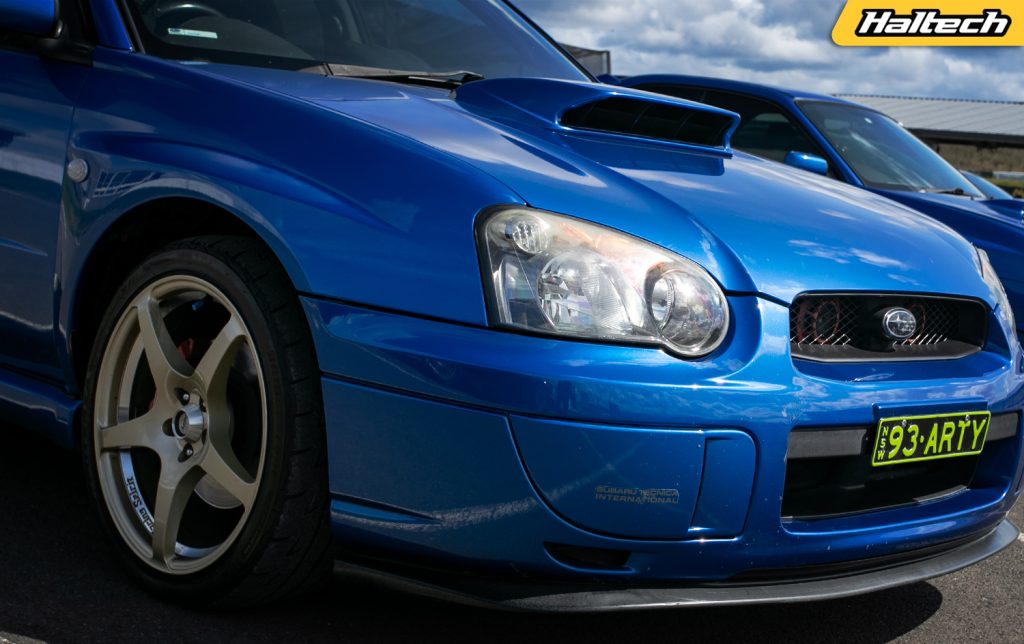
Arty’s BlobEye
Arthur’s 2005 WRX is the first facelift model, affectionately called “Blobeye”. It’s powered by an EJ20 with some mild bolt-ons; Turbosmart BOV, Invidia N1 catback exhaust, STi spoiler and bonnet scoop.
“I’ve had it for over four years now. It’s a great daily driver that you can enjoy at track days. I really like that about it – it’s versatile.”
“It does suffer from the usual problems like the leaking rocker cover gaskets, I have to keep changing spark plugs all the time.”
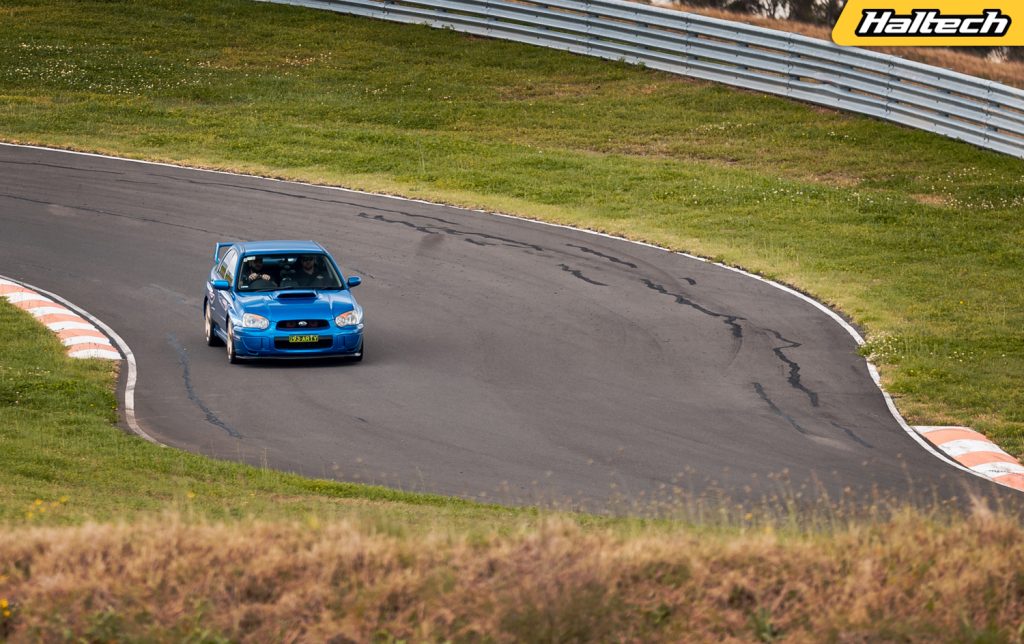
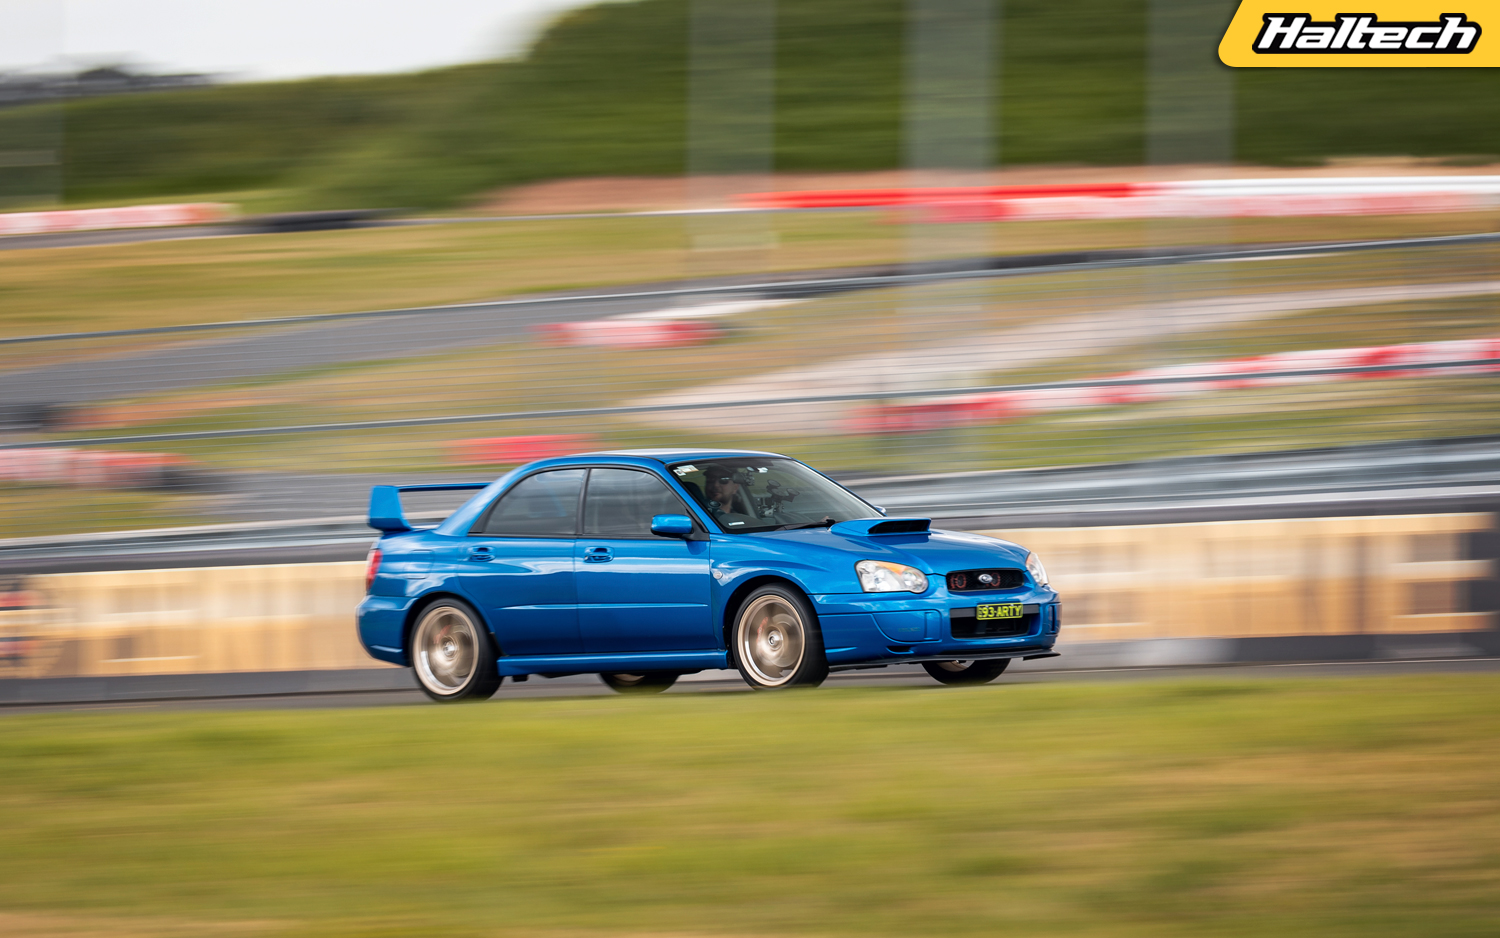
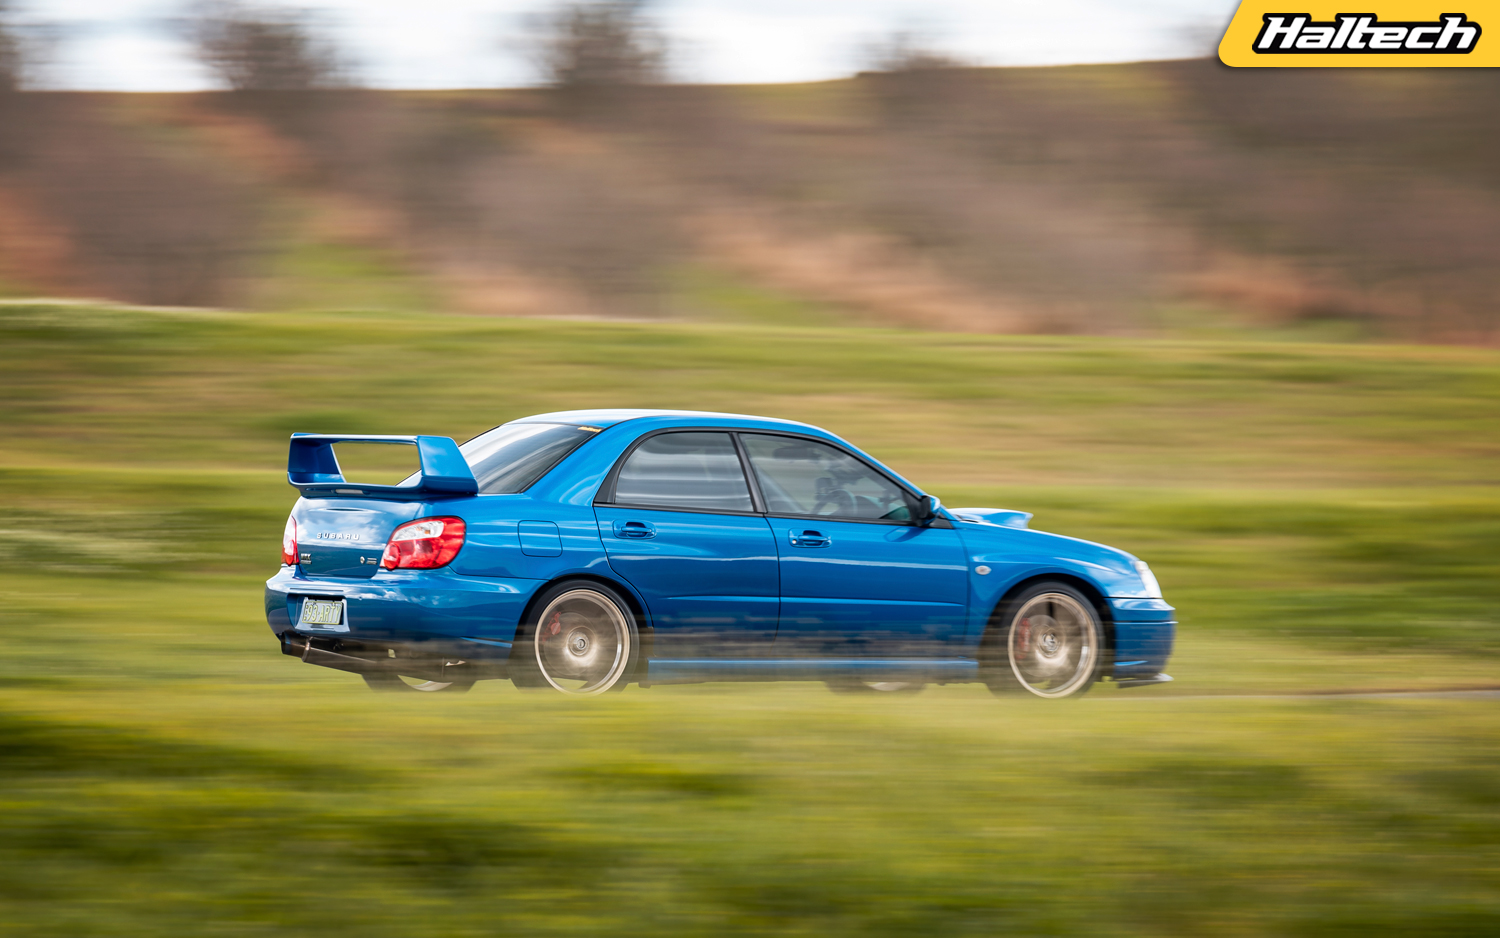
Dave’s HawkEye
Dave’s is the 2006, “HawkEye” facelift model. It is probably the most powerful car on the track today. It’s powered by a built EJ25 with a Garrett GT35 frame turbo, a front-mount intercooler and an upgraded fuel system.
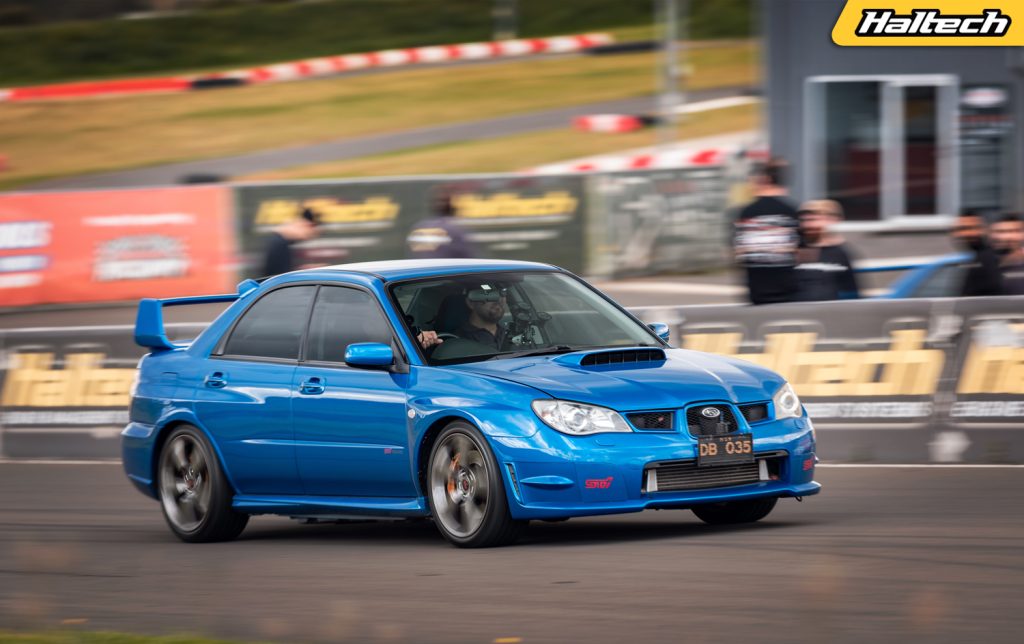
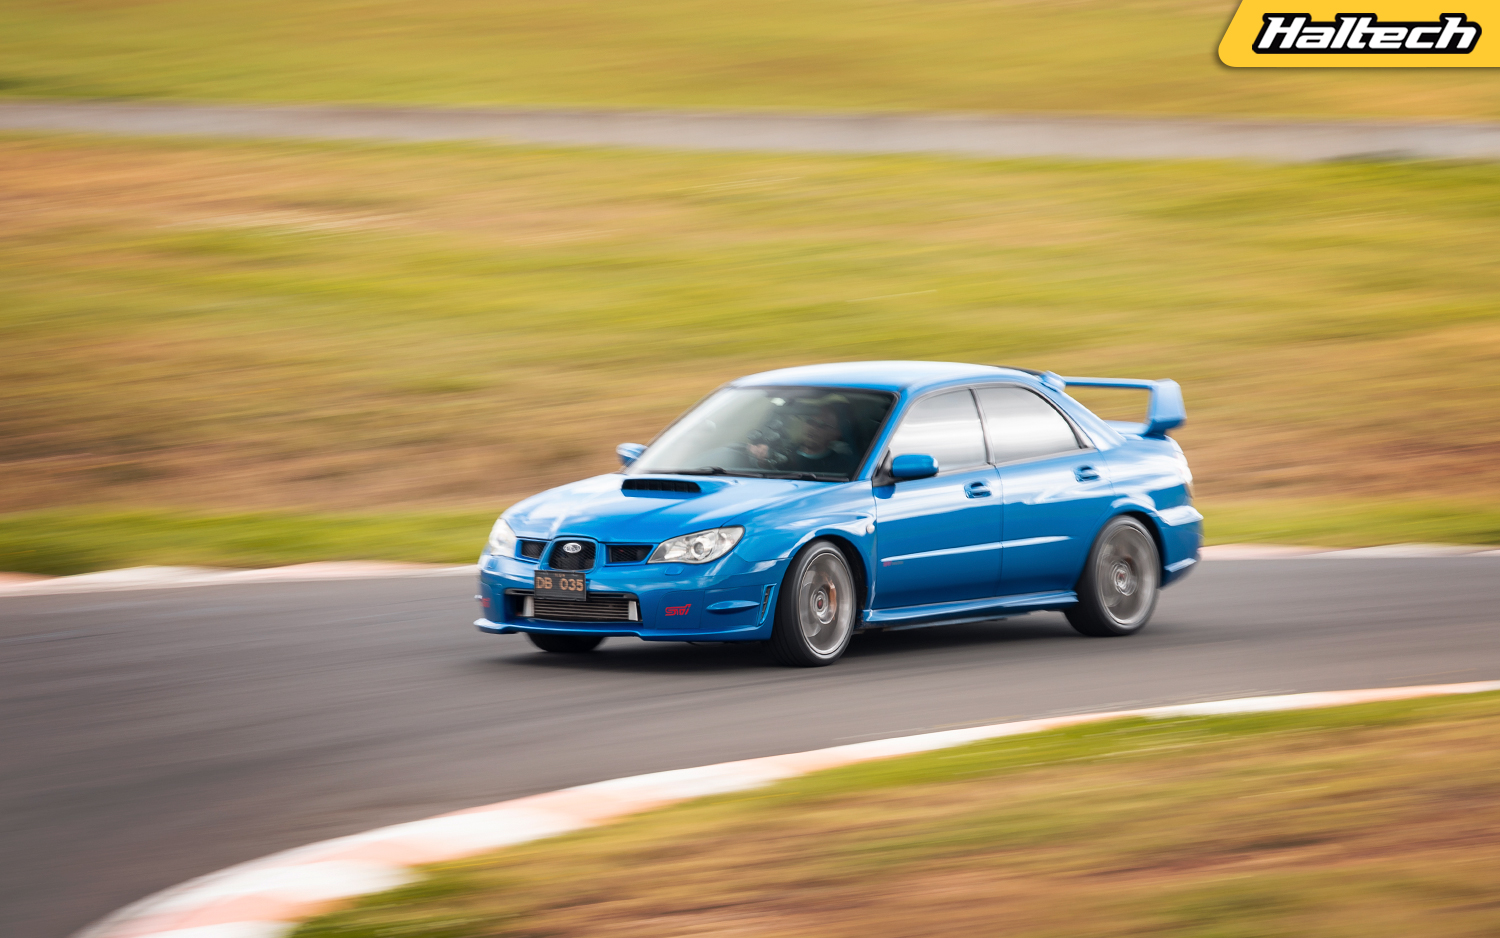
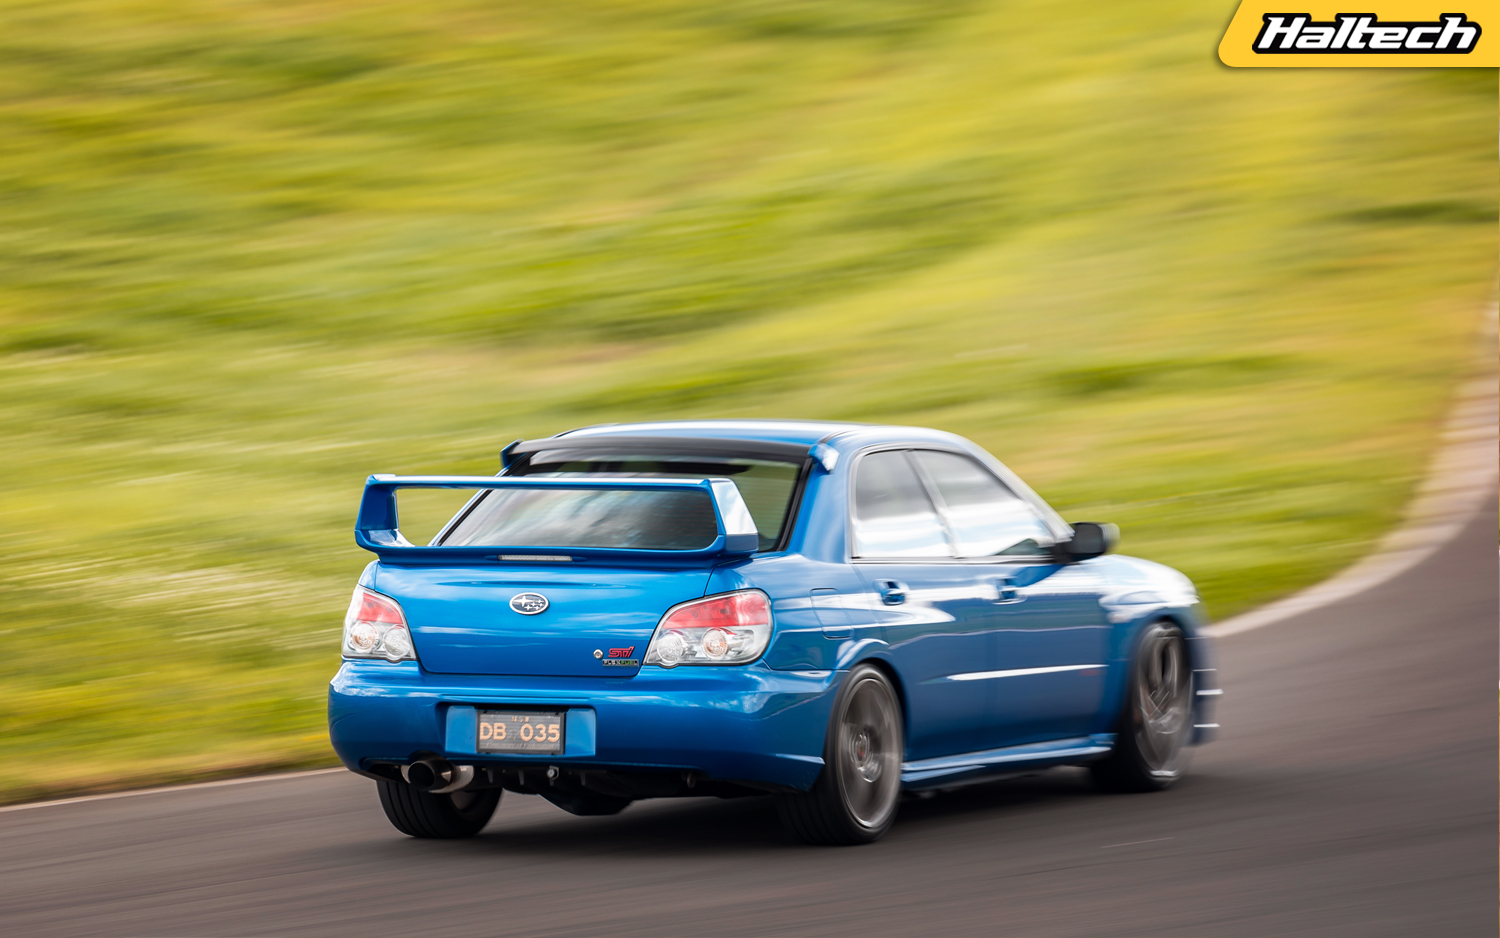
“I’ve had it for about seven years and I still love it. The way it comes on boost is just… mind-blowing – it’s like a big cam in an older style car.”
“Even though it looks like a daily and I do drive it frequently it wasn’t really built for that. The suspension is too firm for commuting. But it comes to its own on a race track!”
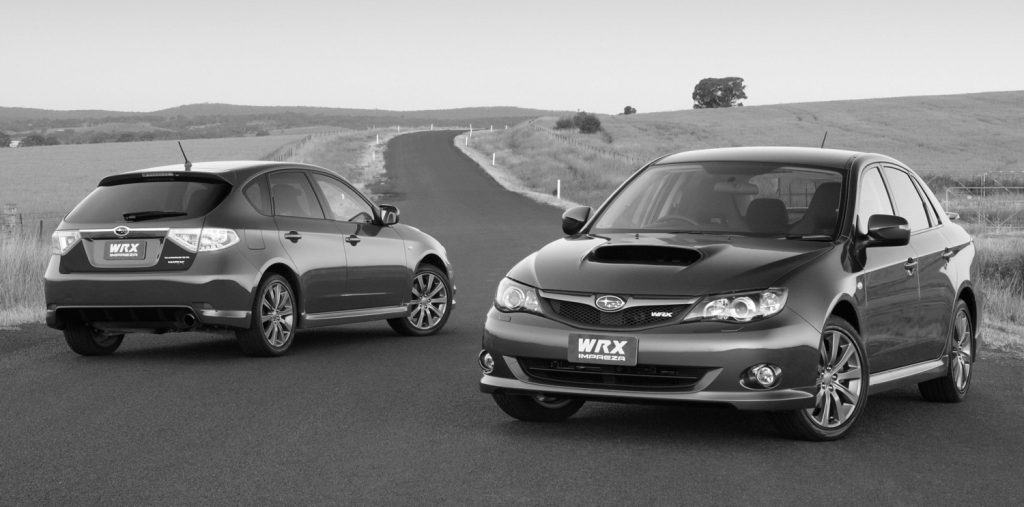
Gen 3: 2007 – 2014
2007 saw the introduction of the third generation Impreza. Longer and wider than the outgoing model the Impreza lost the wagon option but gained a five-door hatch. Both the WRX and the STi were powered by a turbocharged EJ25, making up to 305hp in the limited “STi Spec C” edition.
Dan’s Daily GH
Daniel’s 2008 model WRX is fairly close to a standard car. The only mods are a blow-off valve and a performance exhaust.
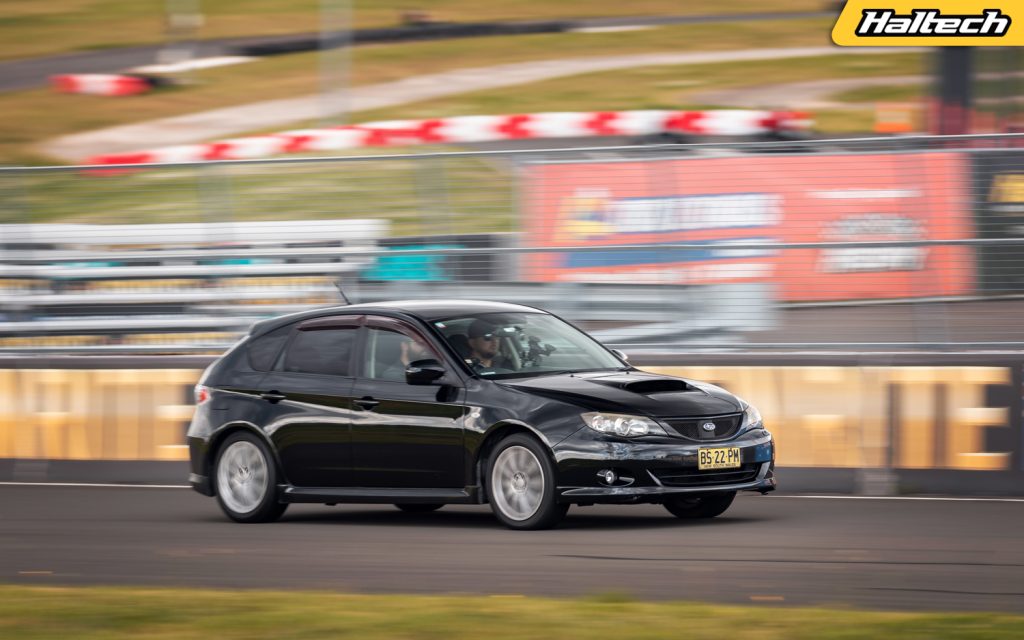
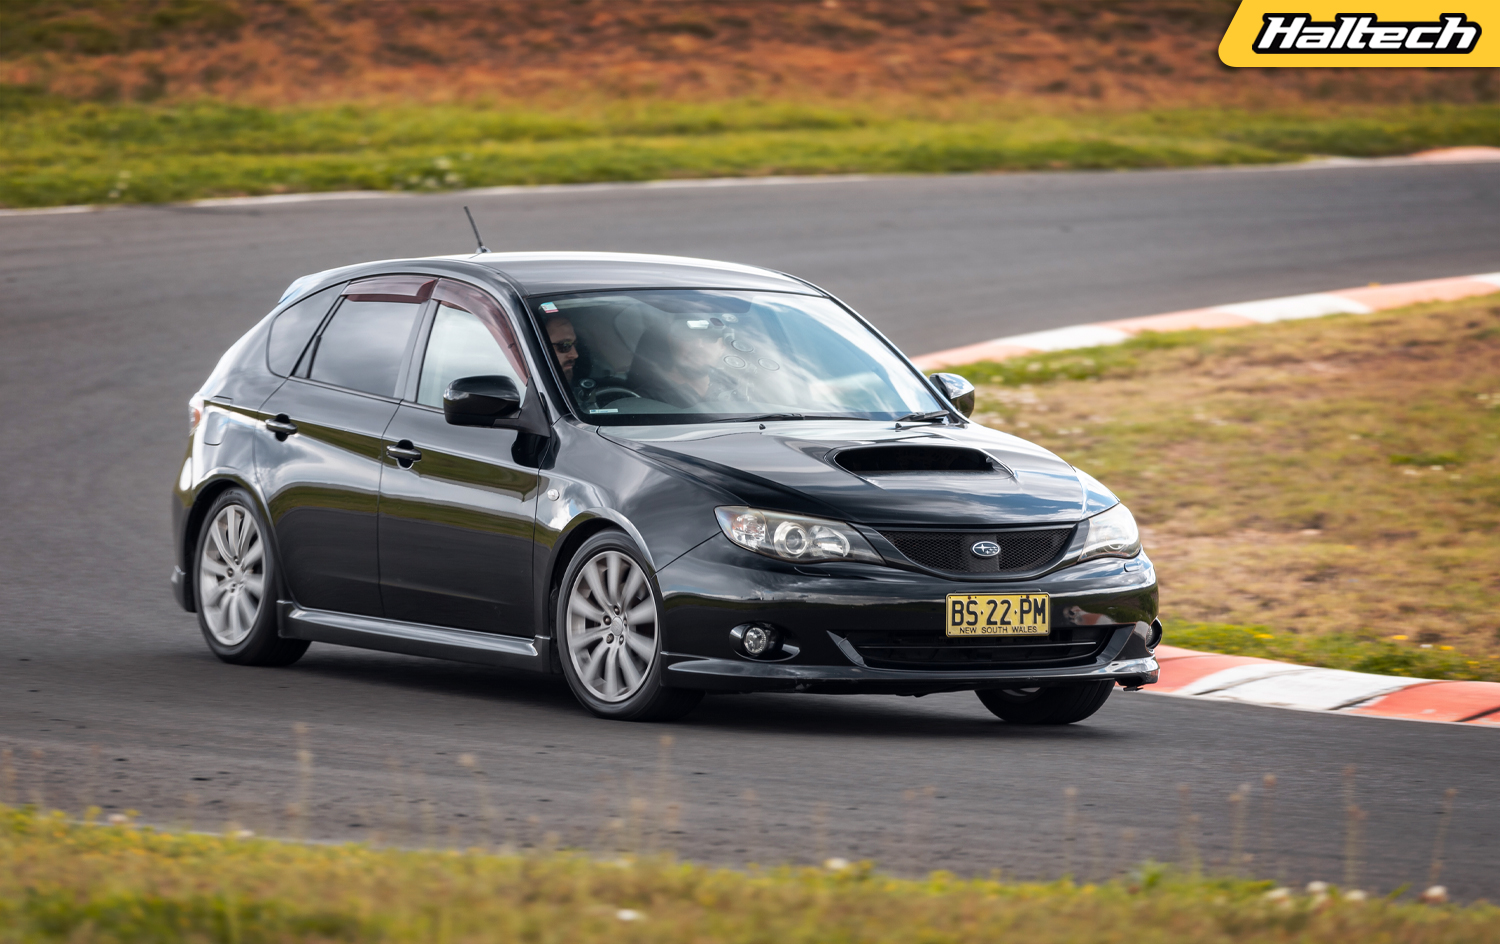
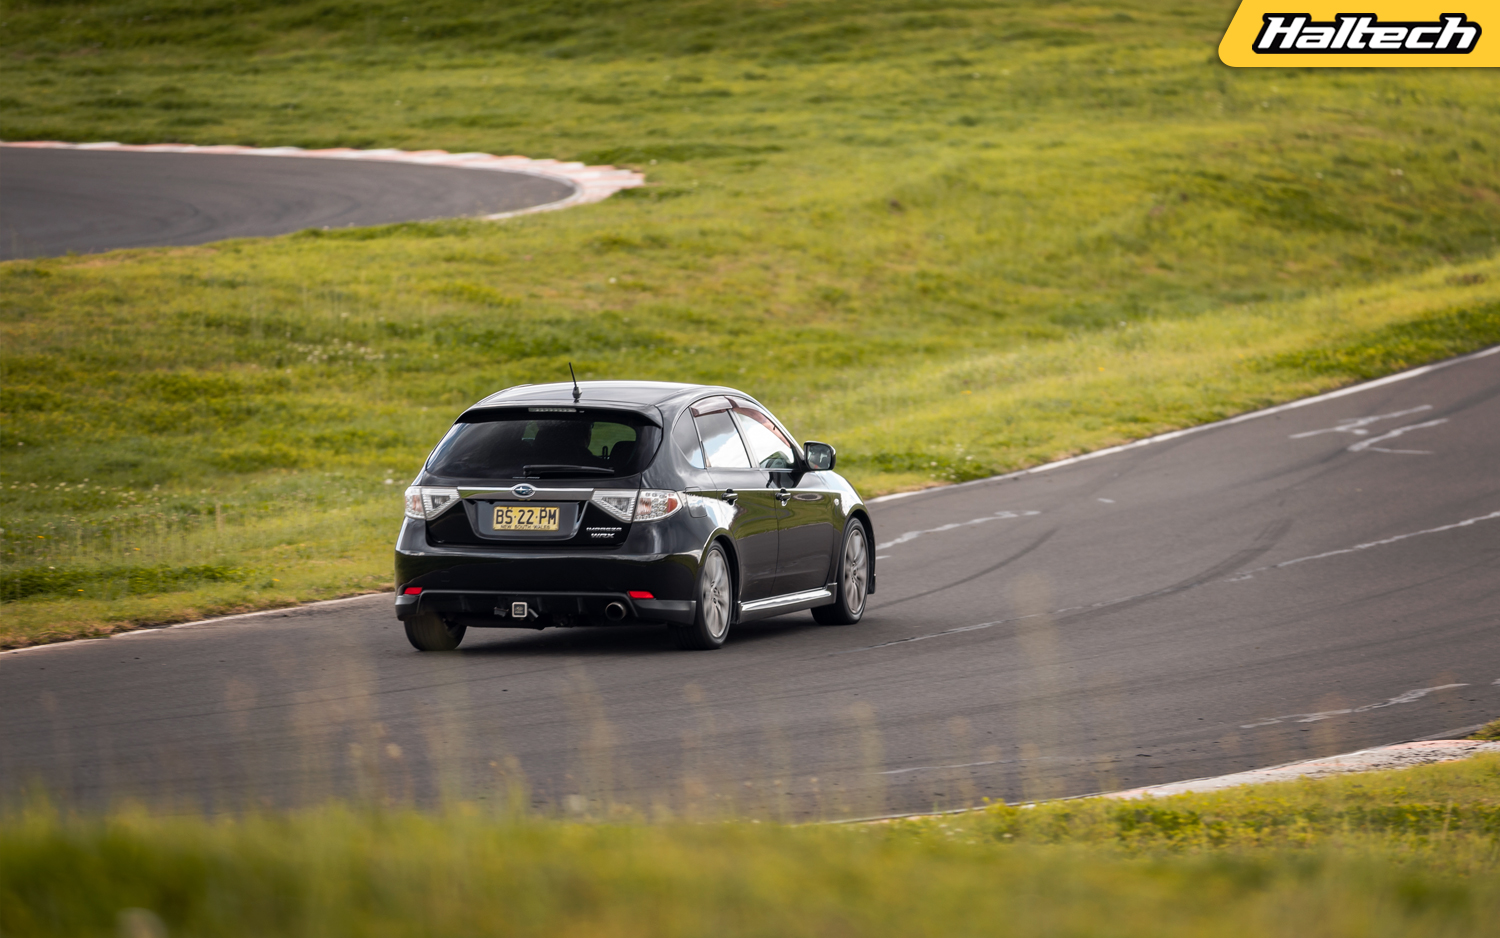
“I use it on daily basis and really like it. It’s a great daily driver, being very functional in the hatch, but also light, quick and nice to look at.”
“This generation WRXs did not have the nice, wide body that the previous versions had. To get a wide body in this model you had to get an STi. Sadly, mine is not an STi.”
Subaru switched to direct injection in 2011 and a new engine (the FA) appeared, first in the naturally aspirated models and eventually fully replacing the EJ in 2014 with the 5th Gen cars.
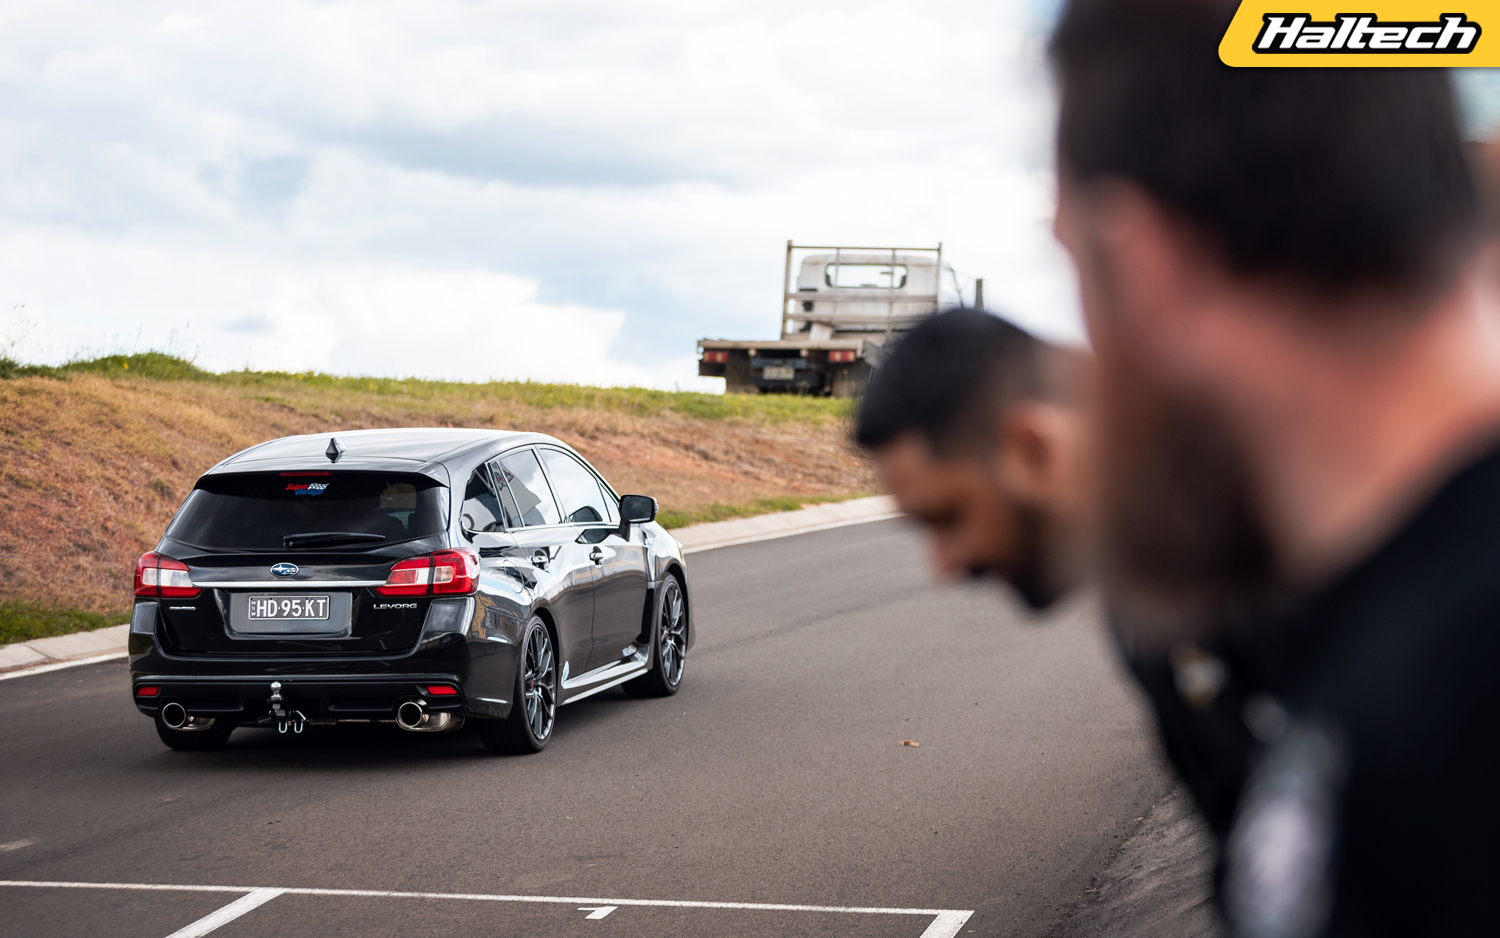
The Levorg
And now we get to the Levorg which, in its factory form, has not a lot in common with its EJ-powered WRX/STi brethren. But this is not your run-of-the-mill Levorg. This one, has been modified by Marty (of the Mighty Car Mods fame) and half Levorg – half STi. The STi half includes the EJ25 engine along with the transmission, front end and the car’s interior.

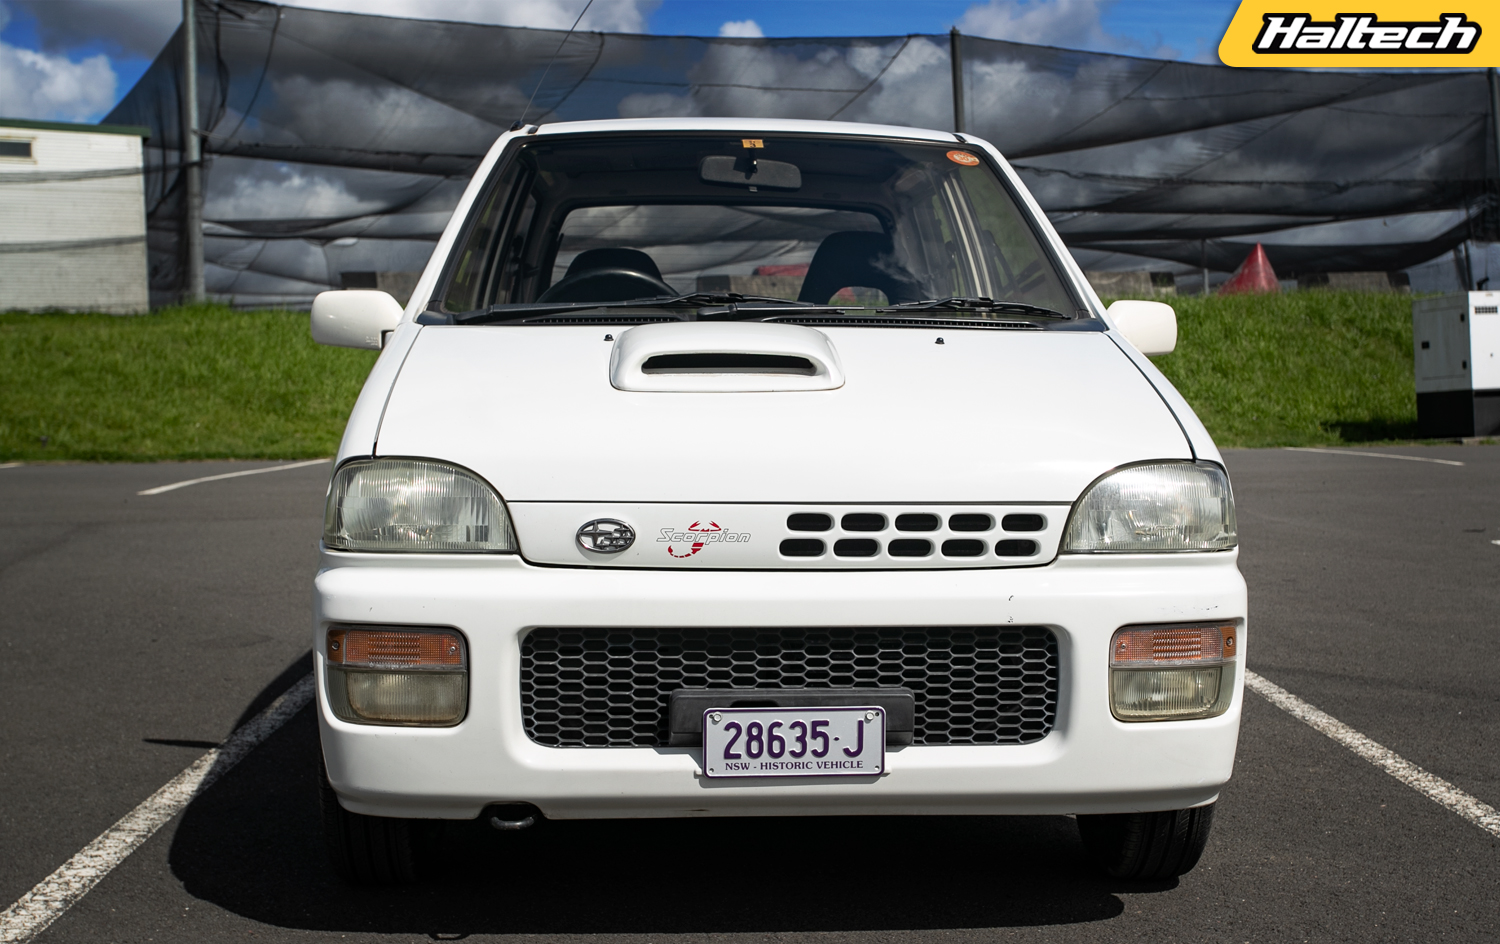
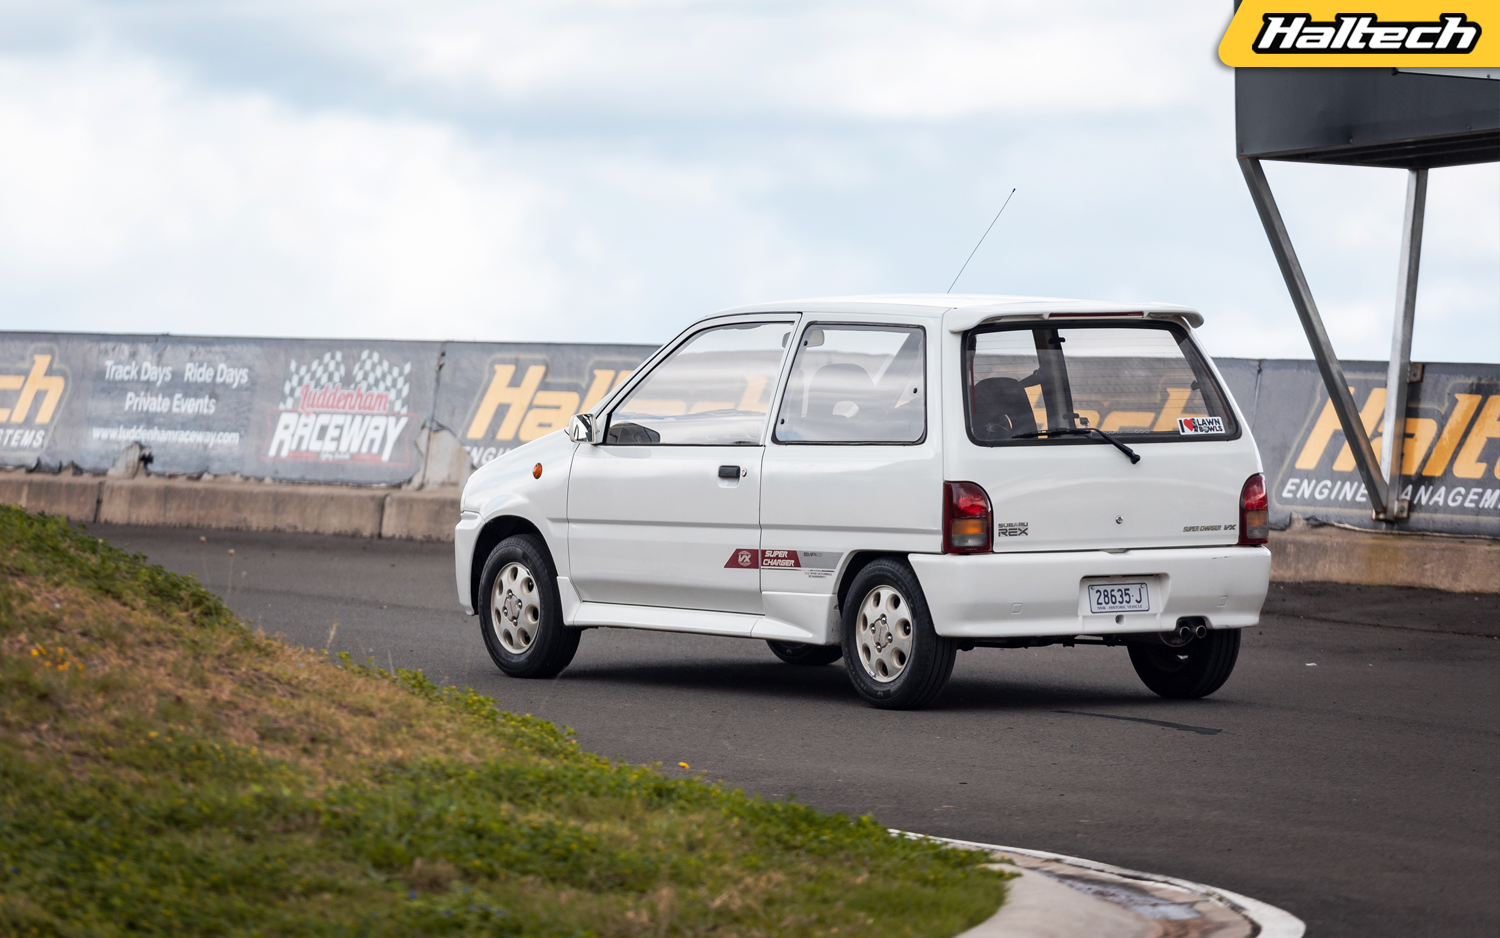
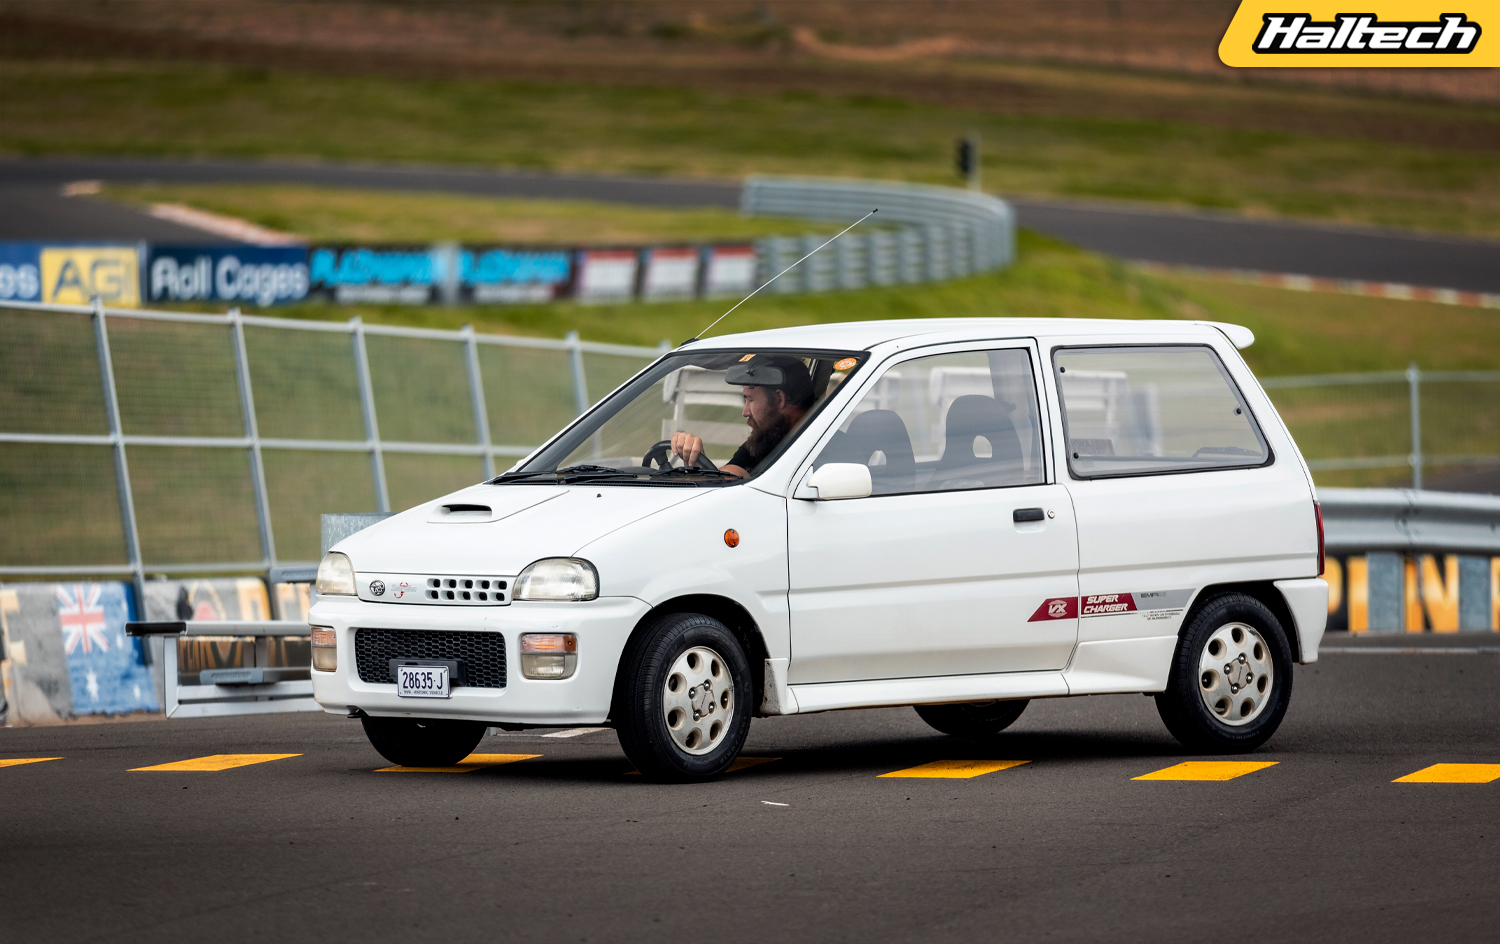
The Rex
The Rex is the odd one out here. It’s neither a WRX, nor is it powered by an EJ. Heck, it’s not even an AWD! But it is a Subaru and it’s interesting to see how the company’s technology, design and market focus changed in just a few short years. Remember the first WRX came out only one year after Benny’s Rex ended its 15-year production run.
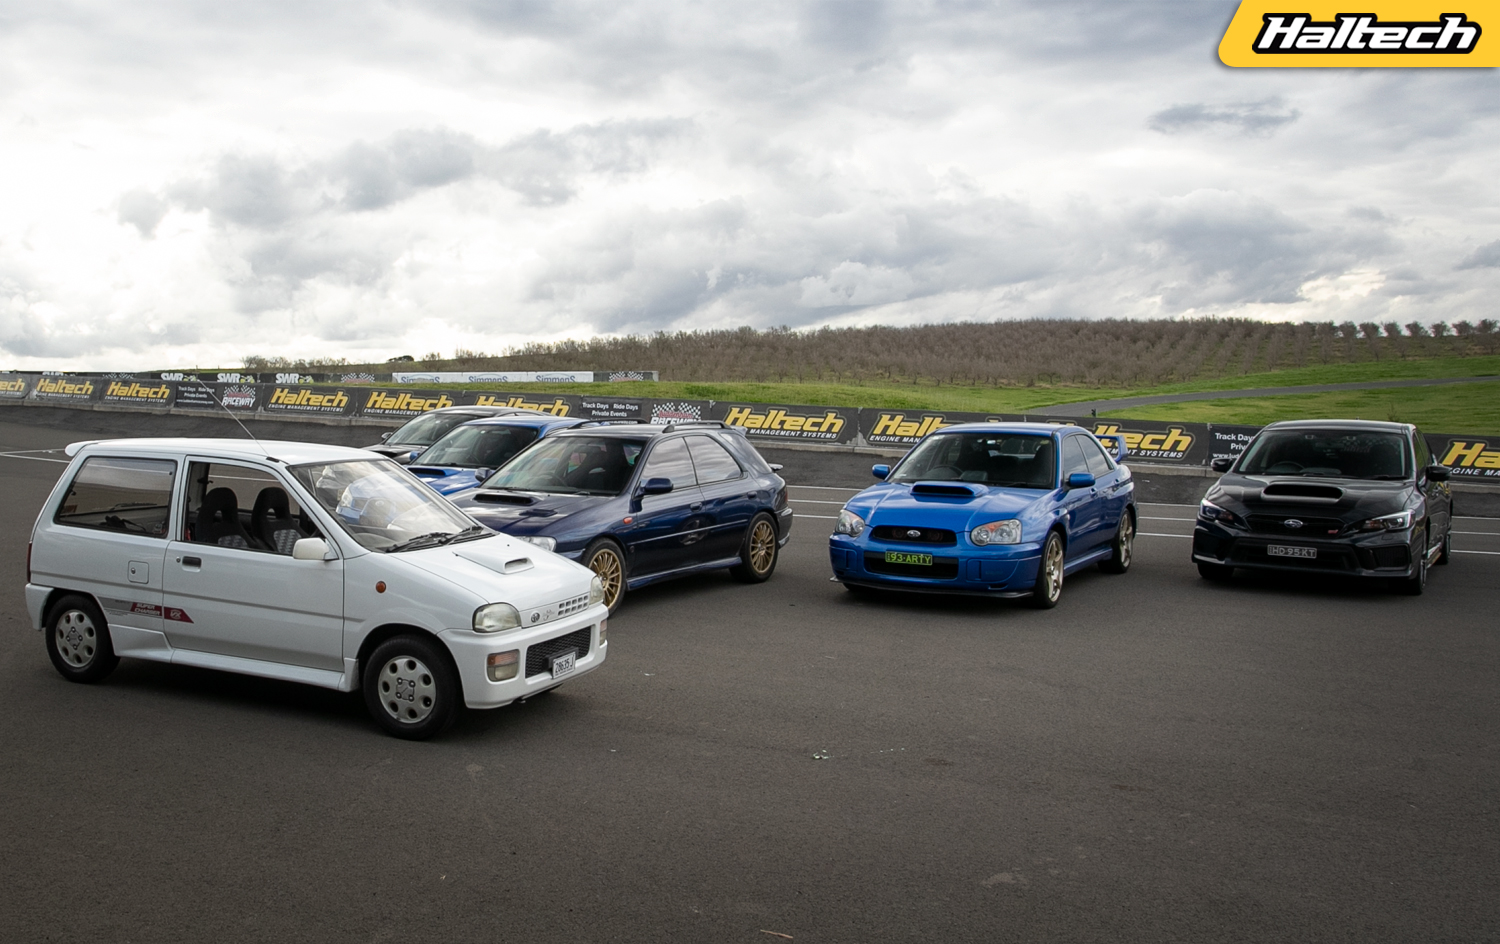
Powered by a supercharged, 660cc, inline four cylinder, the Rex made a whopping 64hp when new. Now, 32 years later it might not be the fastest, nor the best handling machine at the track but it’s still fun to throw around.
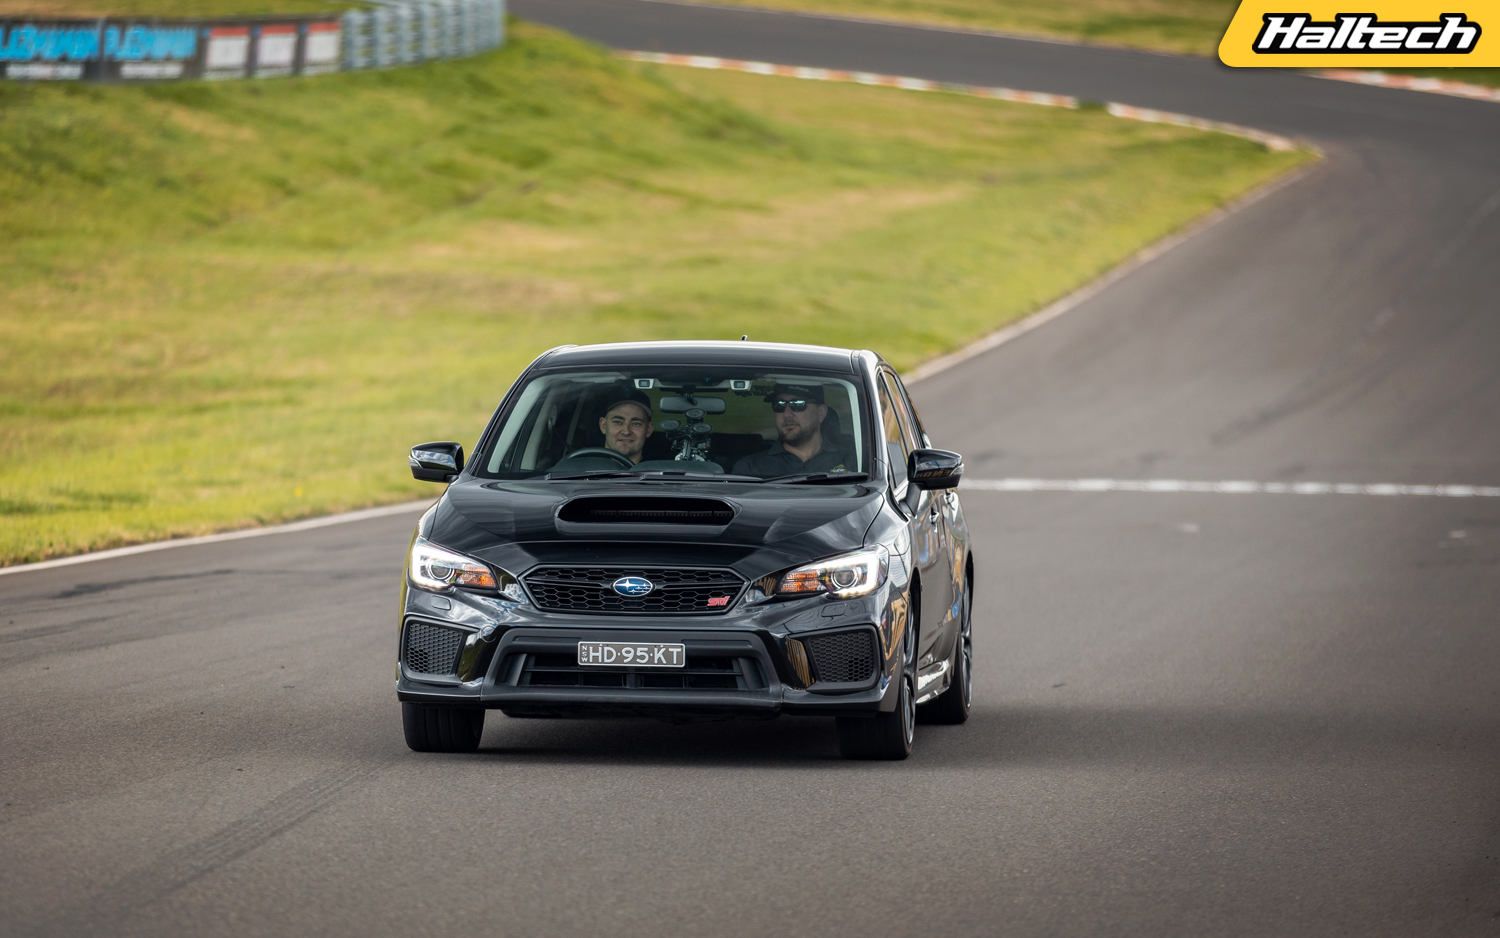
As interesting as the Levorg and the Rex are though, the real reason we invited Marty and Benny (from Benny’s Custom Works) to this track day is because they’re both self-confessed Subaru fans. Here is what they had to say…
Best WRX/STi for modding
Benny reckons the 2005 WRX and STi are the best platforms to start with if you want to embark on a modifying journey. They offer a solid, reliable, and fairly inexpensive base that’s supported by a plethora of aftermarket performance parts and accessories.
Benny’s Pro Tips
Lubricate, lubricate, lubricate. EJs like to consume oil so check your oil level and change it frequently. The head gasket issue mostly affected the early EJ25 engines, so an EJ20 is always a safer bet.
Marty’s Verdict
It’s not about the size of the turbo or the horsepower. It’s not about the all-wheel-drive or even the boxer sound. Sure, they all add up to a practical, versatile yet still exciting to drive and an easily modded ride, but it seems for the WRX fans it’s about the lifestyle.
The Subaru’s WRX/STi community seems to be very supportive, inclusive, and while acknowledging its inherent faults, very passionate about their rides. And isn’t that what drew us all to the car culture in the first place?
Recommended Reading: What’s so special about Subaru’s EJ25 / 25 engine.
Planet Haltech
Welcome to Planet Haltech, our monthly wrap-up of all things Haltech. Races, wins, PBs, event coverage, new products, and inside news plus our favourite builds and YouTube channels. #planetHaltech
Planet Haltech FB group | HaltechTV YouTube Channel | Haltech on FB | Haltech on IG |
Episode 4
Street Outlaws No Prep Kings, Kenda Radial Drags, Sydney Grudge Kings and Brisbane Jamboree – that’s just some of the events we’re covering in this episode of Planet Haltech. We are also wrapping up the Euro Hill Climb Championships and previewing a couple of upcoming new releases!
Episode 3
From Pikes Peak Hillclimb in Colorado to All Ford Day in Sydney with some Hillclimb in Slovenia and Time Attack in the UK thrown in.
Episode 2
A new world record for Boostin’ Performance Talon and Maatouk’s RB ProMod, Odom Racing’s 4000hp R35 GTR. We recap the Haltech Hyperfest, GTR Festival, Sydney Hot Rod Show, and check out Italian Time Attack, European Hill Climb, Hartbergerland Rallye, D1NZ.
Episode 1
Maatouk’s 5.85 sec RB30 powered compact, Karl Schagerl’s Hillclimb monster, 700hp, turbocharged Camry, MotorEx 2022, revamped Elite Series line-up, PD16 and much, much more…
Nugget Garage Shop Tour
For today’s Shop Tour we head up to Queensland’s Sunshine Coast to visit Cleveland Dyno, better known as the Nugget Garage and the man behind it all – Scott Hoffman aka The Hoff. There is no shortage of cool rides inside, including a couple of really quick Corollas and even a turbo-charged new Supra.
If you haven’t already, do yourself a favour and subscribe to Nugget Garage!
More Haltech Shop Tours:
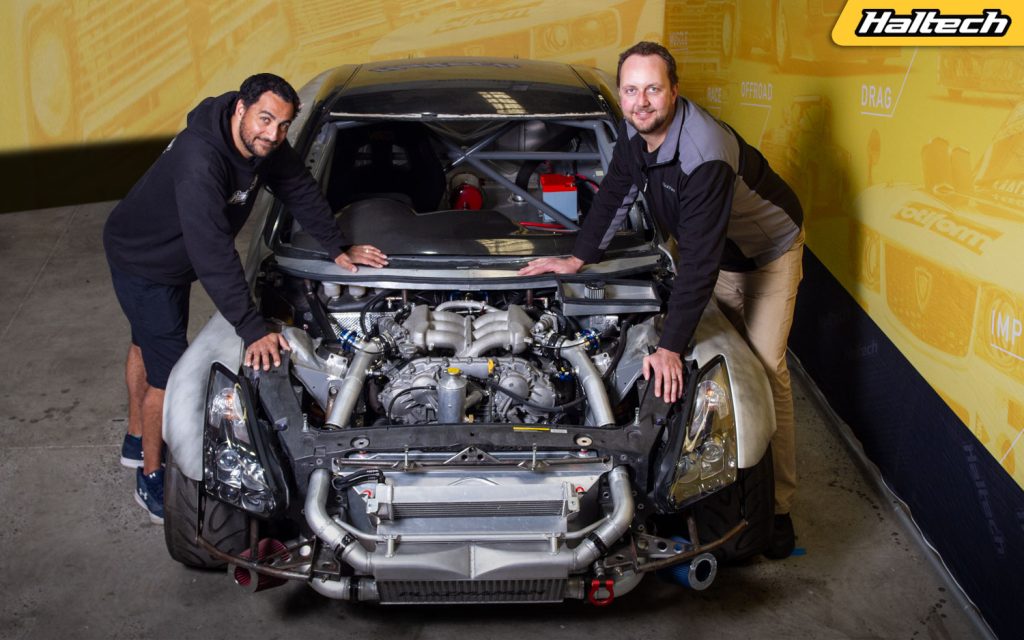
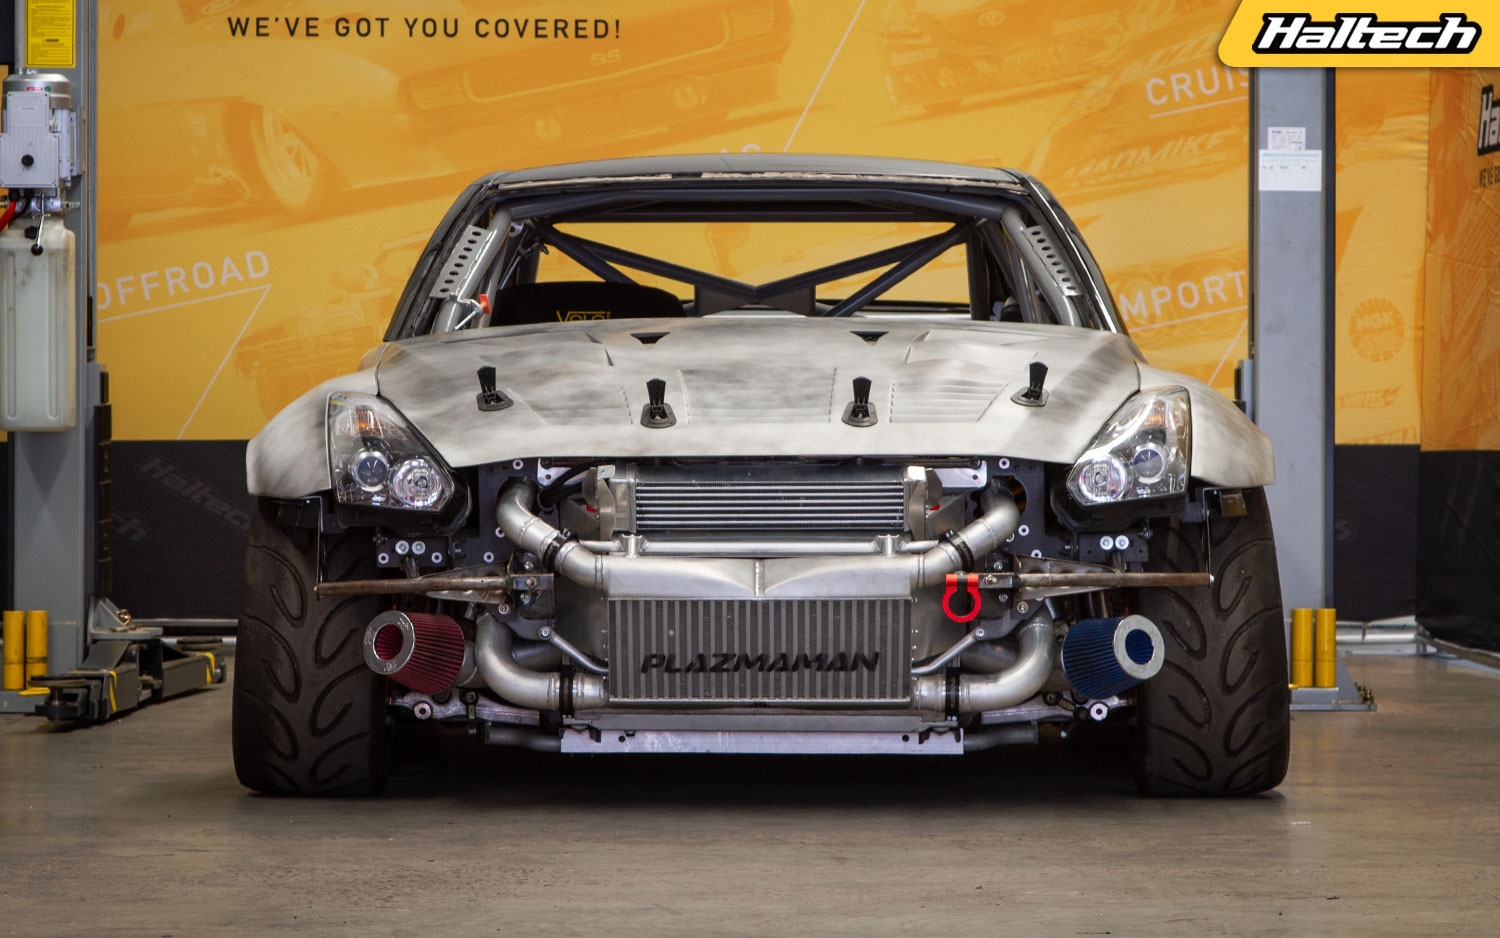
R5 for R35
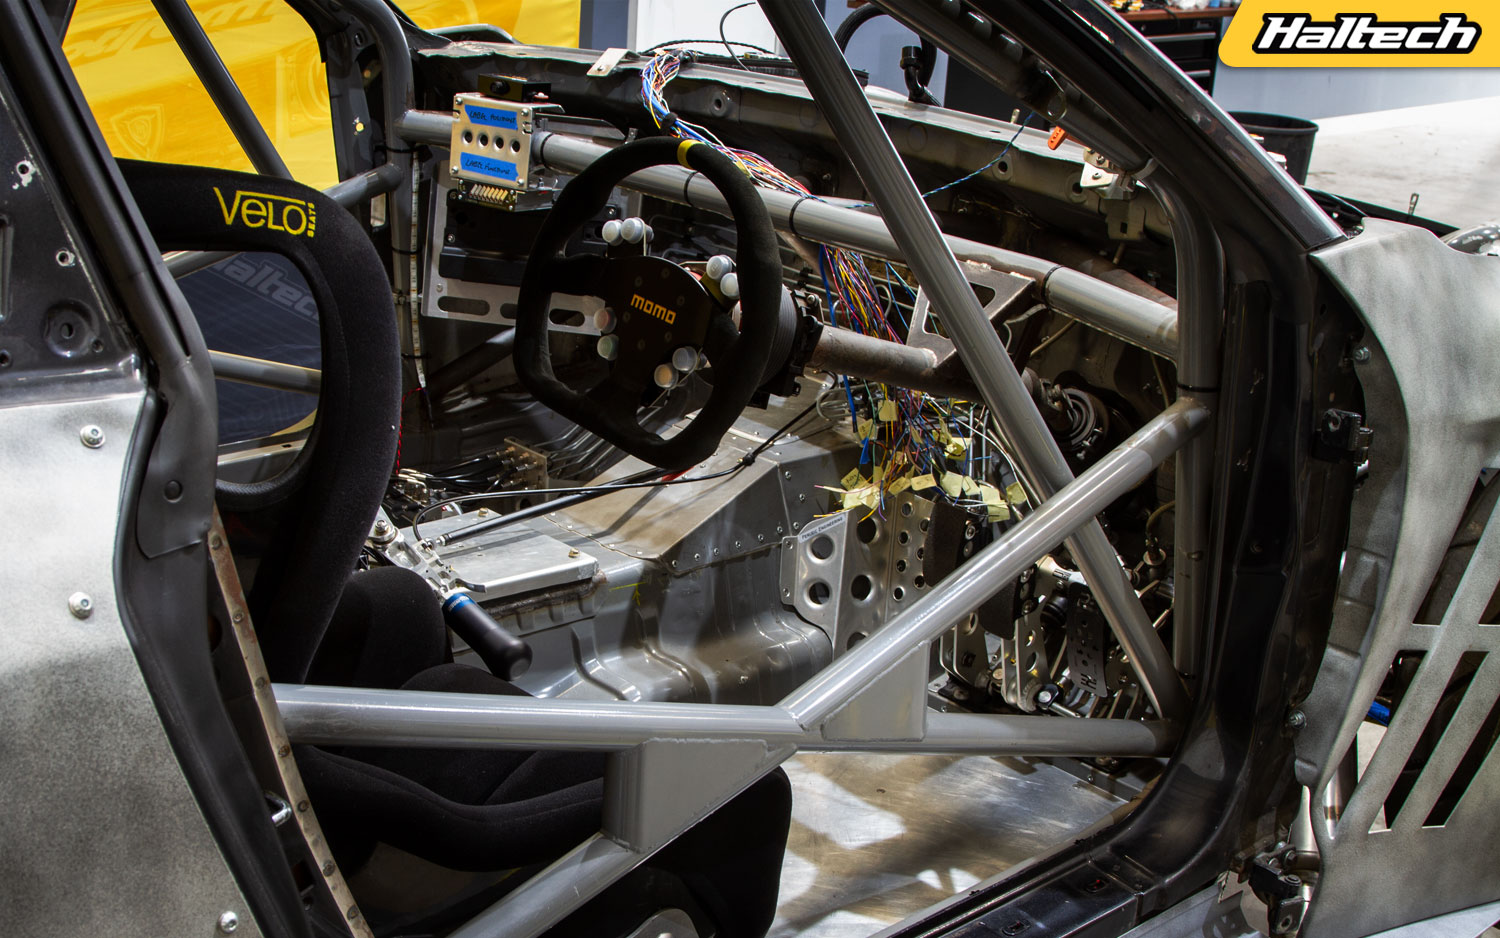
While the Nexus R5 has been quickly adopted by the drag racing and muscle car community, its advanced specs and numerous features also make it supremely suitable for circuit racing applications. We figured the best way to showcase all those features would be in a real, proper circuit racer!
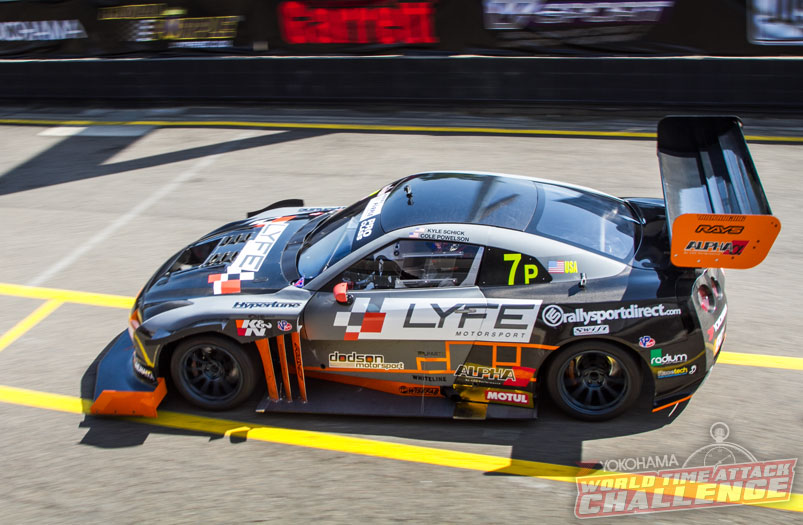
It just so happened that one of our long time friends and a big time attack fan – Brian Bugh had just purchased a NEXUS R5 for his new build – a purpose built Nissan R35 GT-R race car. We have featured Brian’s other car – an LS-powered Corvette a few years ago. At the time the Corvette was competing in the Open Class at the World Time Attack Challenge and other national time attack events. The GTR will take Brian to another level with a ground up, Pro Class spec build.
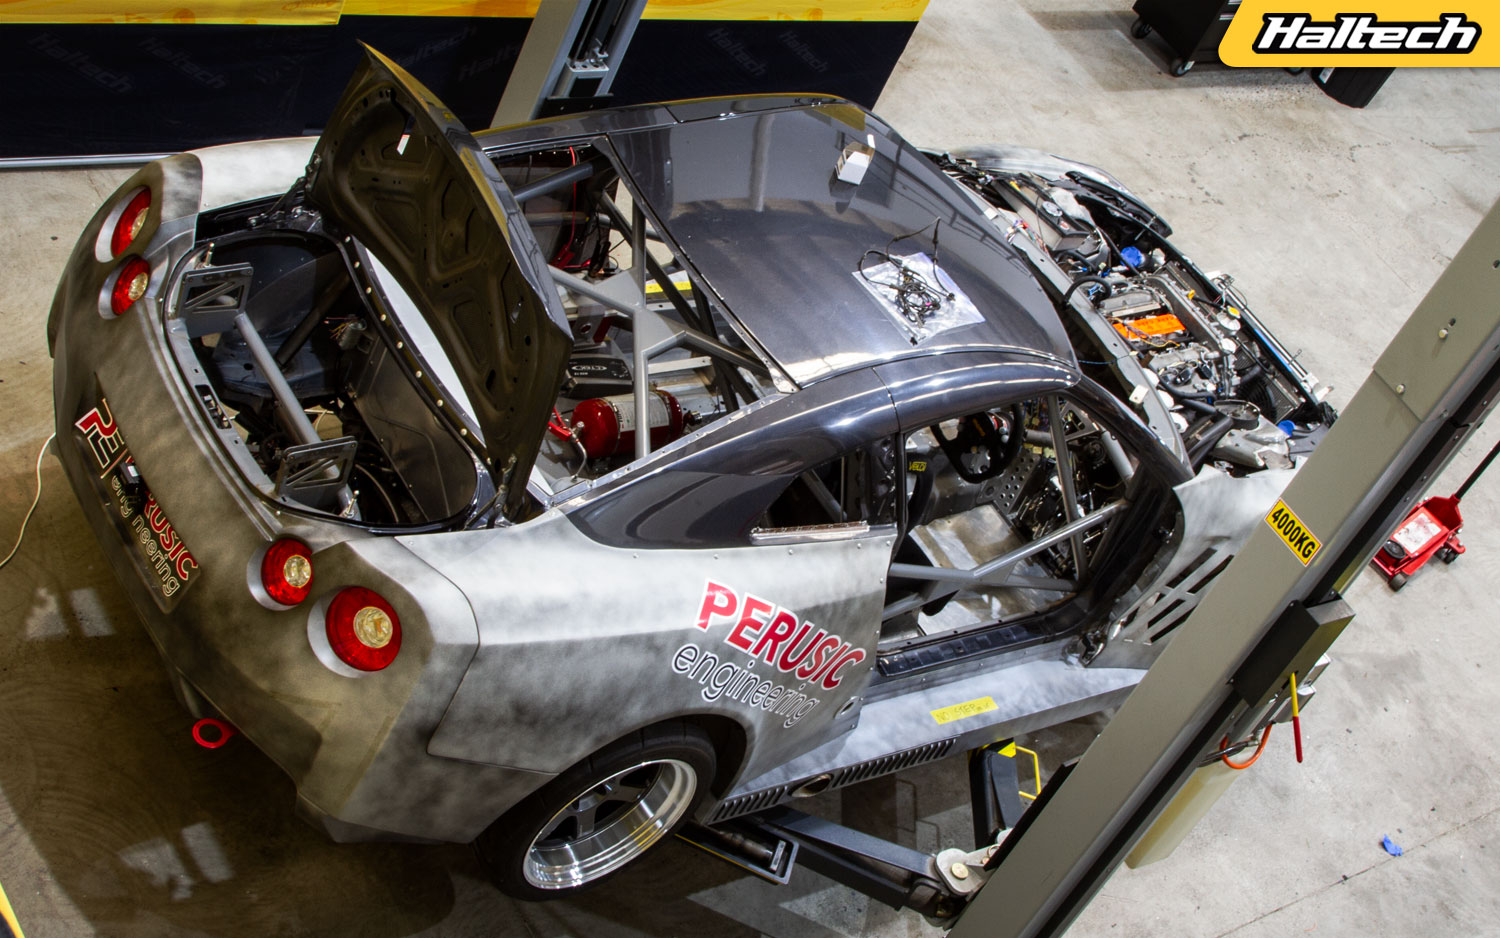
The engine currently in the car has a bit of history to it. It is this engine (albeit in a different car) that broke the HKS lap record at Sydney Motorsport Park in 2016. The engine was donated by Brian to the American team LYFE Motorsport after theirs suffered a catastrophic failure in practice. With Brian’s engine installed Cole Powelson went out and set a new R35 SMSP lap record.
Once back home in Utah, Cole and the LYFE crew pulled the engine out and shipped it back to Brian who promptly put it in its rightful place – his freshly started time attack build. Fast forward to 2020 and Brian’s car is ready for wiring and ECU install, setup and tune.

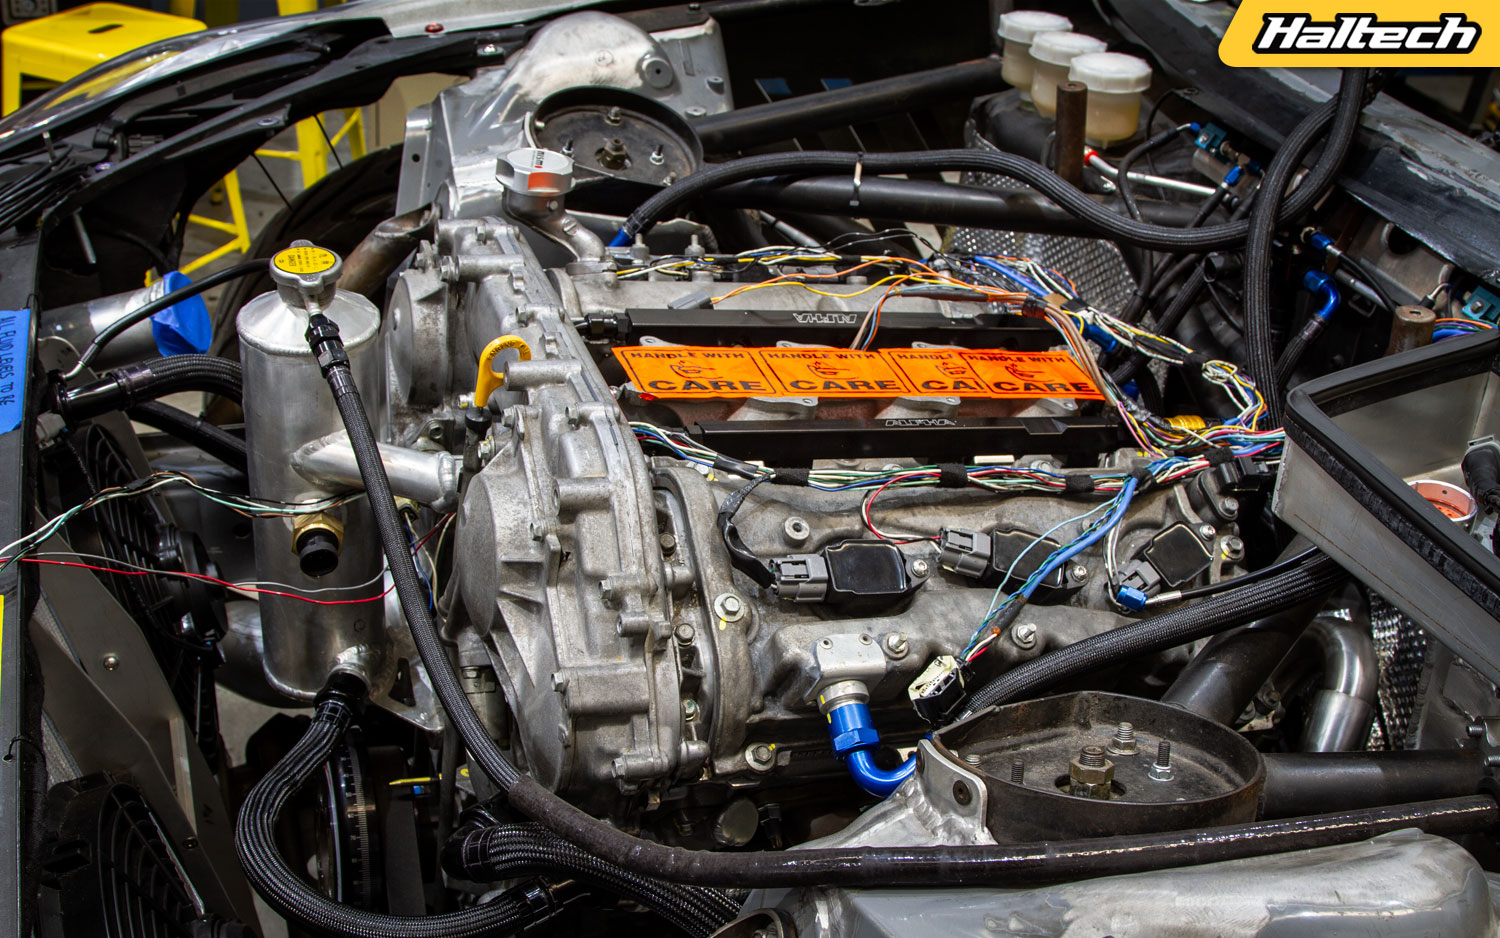
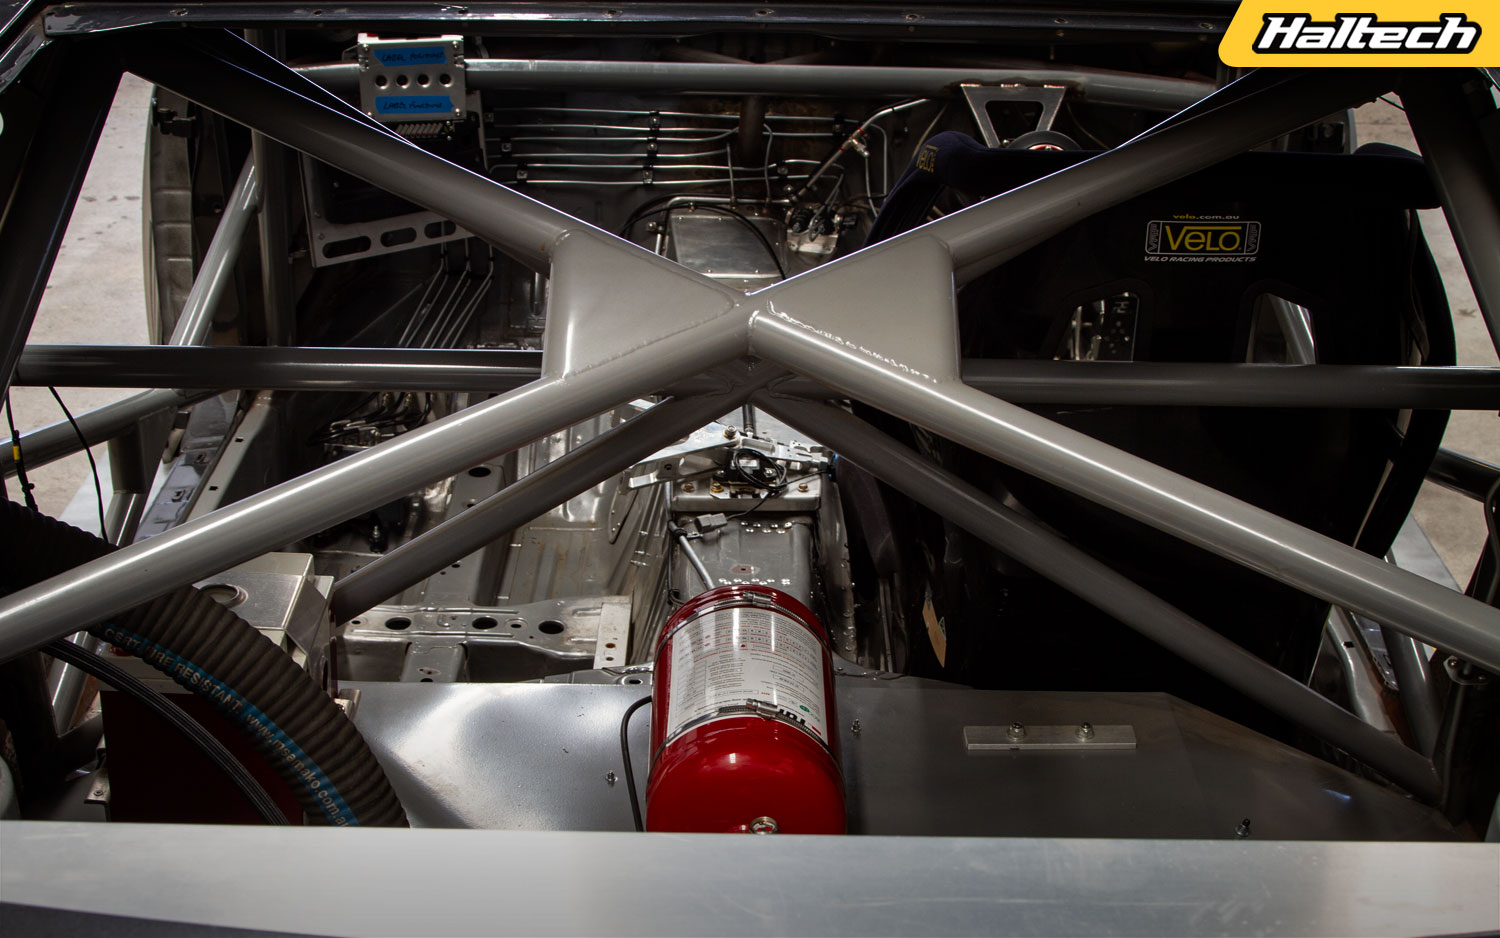
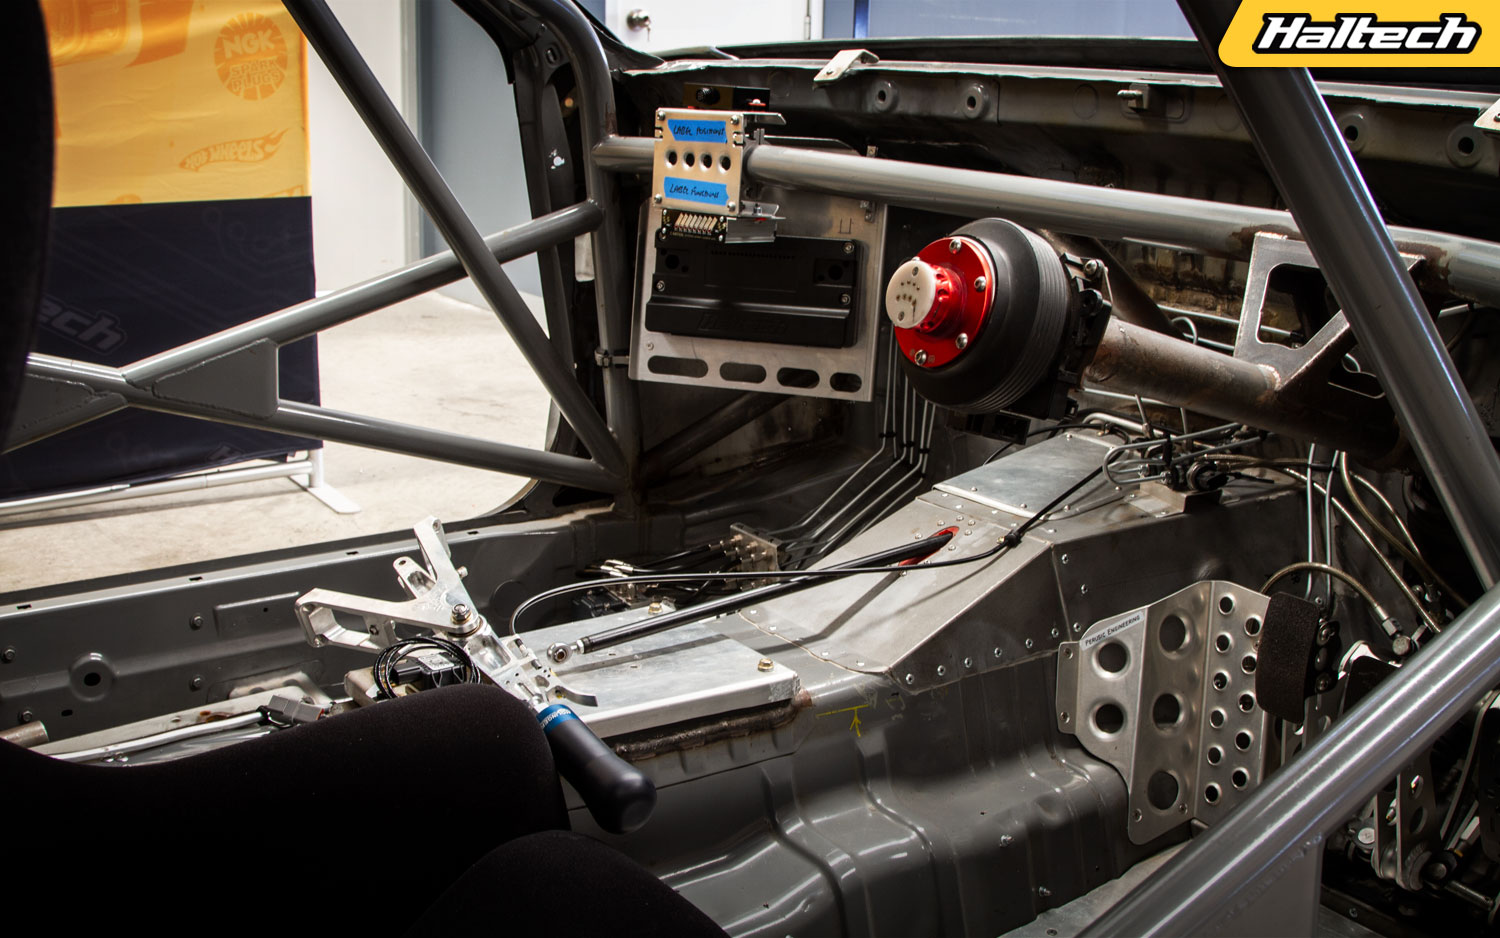
Our goal is to do a full NEXUS R5 install complete with a complete wire job. The R5 will be supplemented by a CAN Keypad, iC-7 dash, Thermocouple Amplifier and a whole bunch of sensors.
Once everything is installed we’ll go through the setup process of all the main R5 features like wire assignment, throttle blip, sequential gearbox control, traction control, rolling anti-lag, boost control and much, much more.
The next step is dyno tuning where the car will get a “soft tune” to test it for potential problems followed by a slightly less “soft” tune to get it ready for a shakedown session. The final step will involve getting the car to a race track and see how all the functions perform in their intended environment.
So get in, buckle up and hold on, it’s gonna be one hell of a ride!
Episode 1: Getting ready for NEXUS
In this episode: build overview and history, products we’ll be installing, a quick overview of NSP, wire assignment via the NSP software.
Episode 2: Wiring it all in
In this episode: NEXUS R5 wiring overview, crimping and terminated, R5, iC-7 and CAN Keypad install.
Episode 3: Configuring all the NEXUS functions
n this episode: NEXUS R5 setup including CAN Keypad config, sensor calibration, transmission and flat shift setup, final check and the first engine start!
Episode 4: Dyno Tuning
In this episode: Pre-dyno check, engine protection, oscilloscope, fuel, ignitino and variable cam mapping, boost by target gear, sequential gearbox with flat shift, pit speed limiter, solid state tuning.
Episode 5: Shakedown and Track Tuning
In this episode: Shakedown at Luddenham Raceway, data logging setup, ABS setup, pit speed limiter and traction control setup and testing.
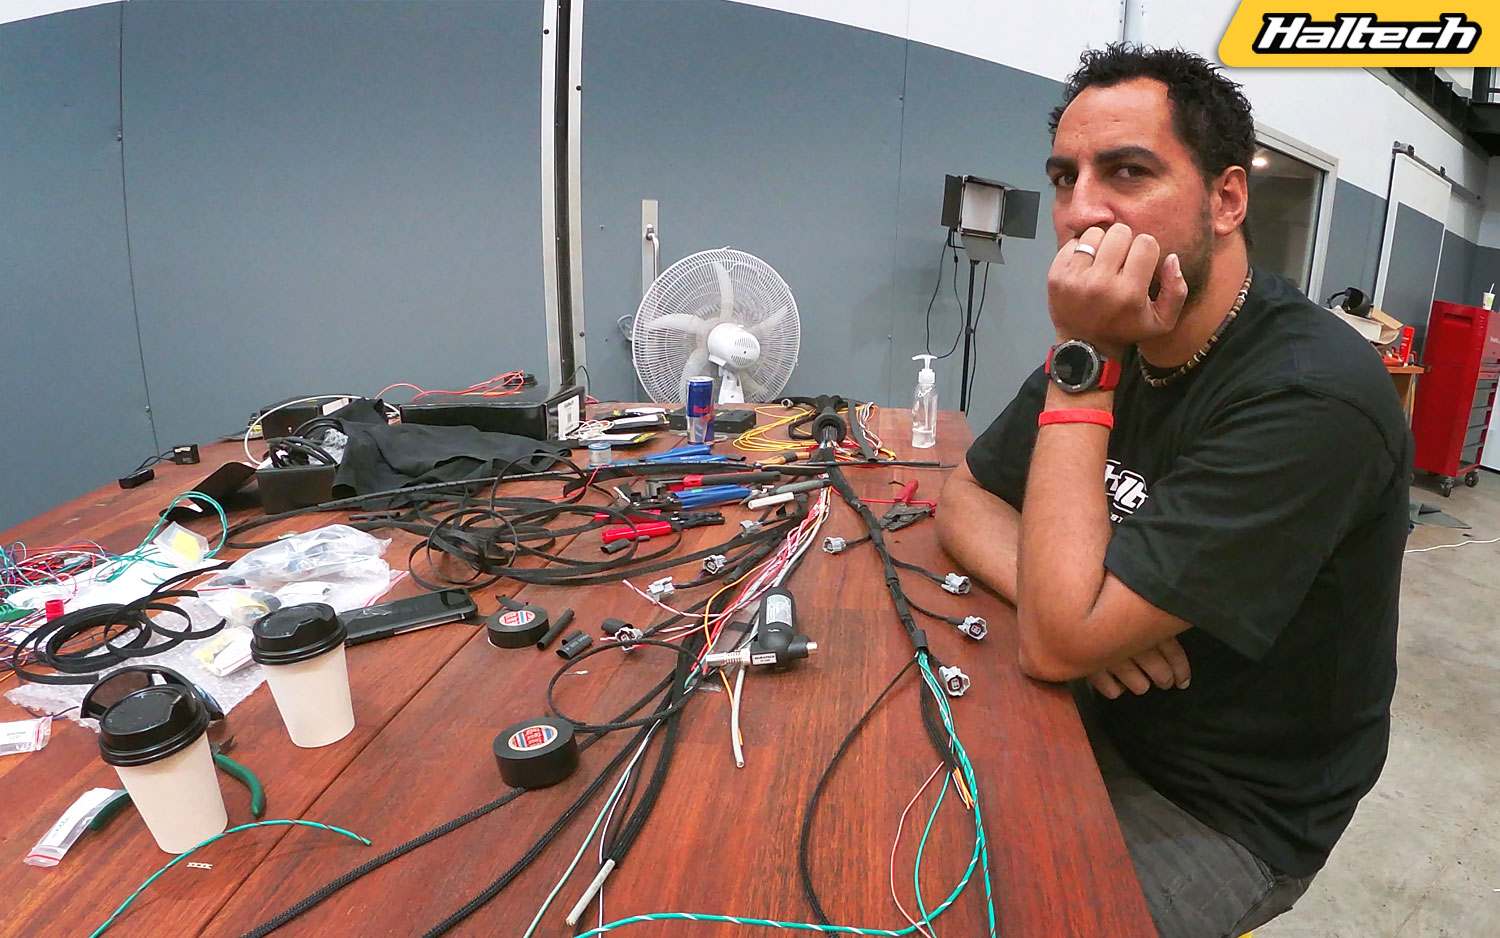
Dave’s Wiring Vlog
Everyone tackles self-isolation differently. Dave’s way was to put up a makeshift isolation booth in the corner of Haltech garage and wire a car!
We figured it was a great opportunity to vlog the entire process. Of course, given the recommended social distancing rules he would have to do it all himself… It took a bit of convincing but Dave finally agreed. Welcome to Dave’s Wiring Vlog – in all its raw beauty!
Episode 1
In the first episode Dave introduces the car/engine he’s going to be wiring, talks us through all the tools he’s going to be using and then starts the harness prep by separating all the different wire groups.
Episode 2
It’s time to figure out what each wire is supposed to do. Dave prints out an input/output report diagram from the ESP software and assigns each wire in the harness to its rightful place on the diagram. This step is super important as this is where we decide what function each wire in the harness will control. Dave then puts the wire in groups based on their functions and their location in the car.
Episode 3
Haltech’s Premium Wiring Harness includes an integrated fuse/relay box. In this episode, Dave sorts out all the fuses and relays and adds a couple to deal with a boot-mounted thermofan.
Episode 4
It’s time to add a CAN loom into the harness and Dave shows us a quick and easy way of doing it. More hacks and shortcuts in this massive episode as Dave splices in some extra long wires for the rear mounted fuel pump, trans fan and power steering and shows us his braiding technique.
Episode 5
We’re up to our first “point of no return” and that is drilling a hole in the firewall! Dave does a trial fitting of the harness inside the engine bay and lays out all the engine wiring. There’s a lot of pushing, pulling, measuring, checking and cutting going on before the harness is taken out again to be completed for the final install.
Episode 6
Measure twice – cut once! The wiring comes out of the car again for final grouping, cutting, braiding and terminating. Both injector looms (one for each bank) get completed and terminated with connectors. The harness is now ready for the final install.
Episode 7
With the harness back in the car Dave starts with the car up on the hoist and then works his way into the engine bay where he wires all injectors and coils followed by a whole bunch of sensors; cam, crank, flex, knock, thermo fan, air temp, fuel pressure along with the dbw throttle body, alternator, battery. Dave also explains the subtle differences between the pull-to-seat and push-to-seat connectors and figures out the best place to mount the wideband controller box.
Episode 8
We’re on the home stretch! Dave’s inside the cabin now and wires up the DBW pedal then moves onto the ignition switch and the bump & creep buttons. While still in the cabin Dave also crimps the coil wires and completes the ignition loom. Back in the engine bay Dave repositions the factory headlights/blinkers loom so it’s nicely tucked out of the way.
Episode 9
It’s the final day! Dave tidies up all the loose ends under the car and shows how to use a Power Probe (it’s quite handy!). Moving into the car the iC-7 Dash find its rightful place in a custom-made cluster.
Dave then gets down and dirty on the ignition switch. Moving to the rear of the car Dave wires up the power steering pump and the fuel pumps as well as the transmission cooler fan. Back in the cabin – it’s crunch time, with the ECU connected will it all work when Dave turns the key? We’re about to find out….
The finished project
So, how did the car end up looking? A few months later we got the car back to do a quick follow up video and answer some of the questions posted during the wiring process.
Tools and Products Used
Elite 2500 + Premium Wiring Harness: https://www.haltech.com/product/ht-151304-elite-2500/
Dual Crimper Set: https://www.haltech.com/product/ht-070300-dual-crimper-set/
Plugs, pins and wires: https://www.haltech.com/product-category/plugs-pins-and-wiring-products/
Wideband Controller Kit: https://www.haltech.com/product-category/can-expansion-products/can-wideband-controllers/
EFI Hardware: https://www.efihardware.com/
Power Probe: https://www.powerprobe.com/
RS Components: https://au.rs-online.com/web/p/crimp-butt-splice-terminals/7187561/
Tesa Tape: https://www.tesa.com/en-au/industry/tesa-51608.html
Connector-Tech ALS: https://www.connector-techals.com.au/
3D Racing solutions: https://3dracingsolutions.com/collections/dash-clusters
Want to learn Automotive Wiring?
High Performance Academy Pro Wiring Courses: Https://www.hpacademy.com/courses/professional-motorsport-wiring-harness-construction/

